How to Make a Hand Stamped Ring by Little Black Cat

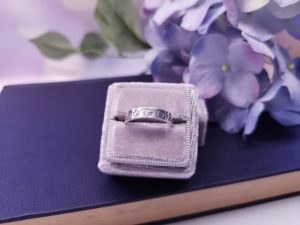
Create something that is personalised and beautiful like this Hand Stamped Ring by Kirsty Halsey, aka Little Black Cat.
Tools and Materials needed:
– Auroflux
– Soldering Block (x2)
– Impressart Metal Stamping Hammer
– Impressart Bridgette Uppercase
– Impressart Bridgette Lowercase
– Wet And Dry Paper 7 Piece Multi Grit Pack
– Talk of the Town Polishing Cloth
STEP 1 – Now it’s time to start creating…
Design your piece by choosing the font and phrase that you’d like to use on your ring. You can use single words, or a phrase. I’ve chosen a 3mm font to fit onto the 4mm band comfortably.
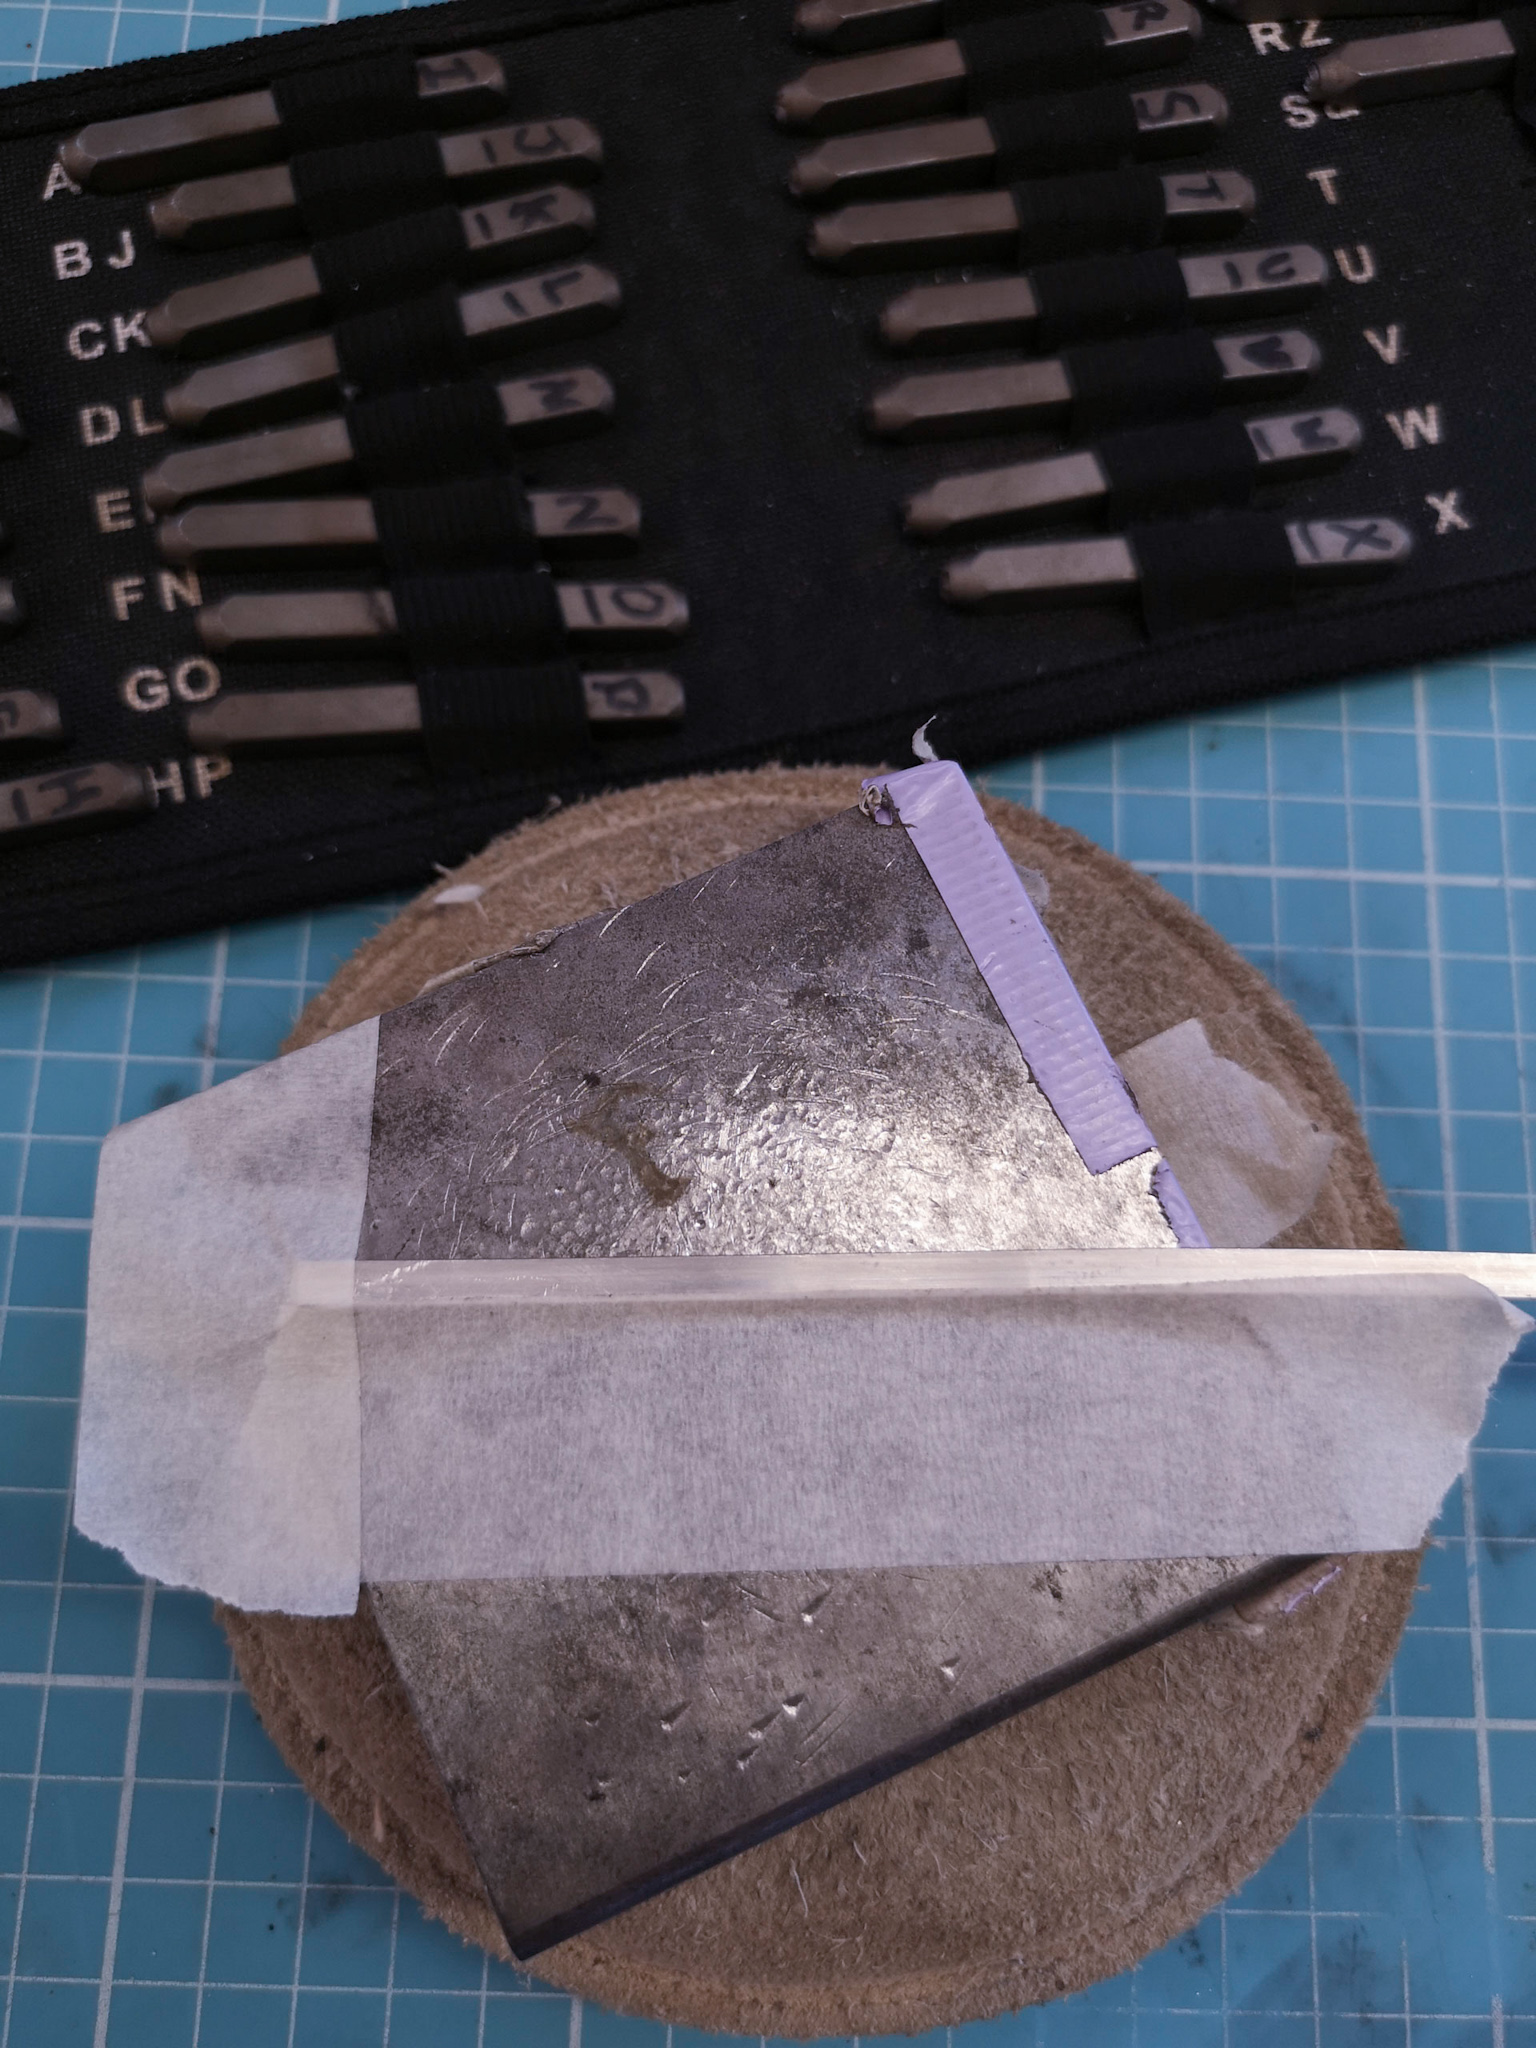
STEP 2 – Get set up
Use masking tape to give yourself a straight line to stamp against, and secure the silver to your steel block. This helps to keep your stamping in line, now you’re ready to get stamping.
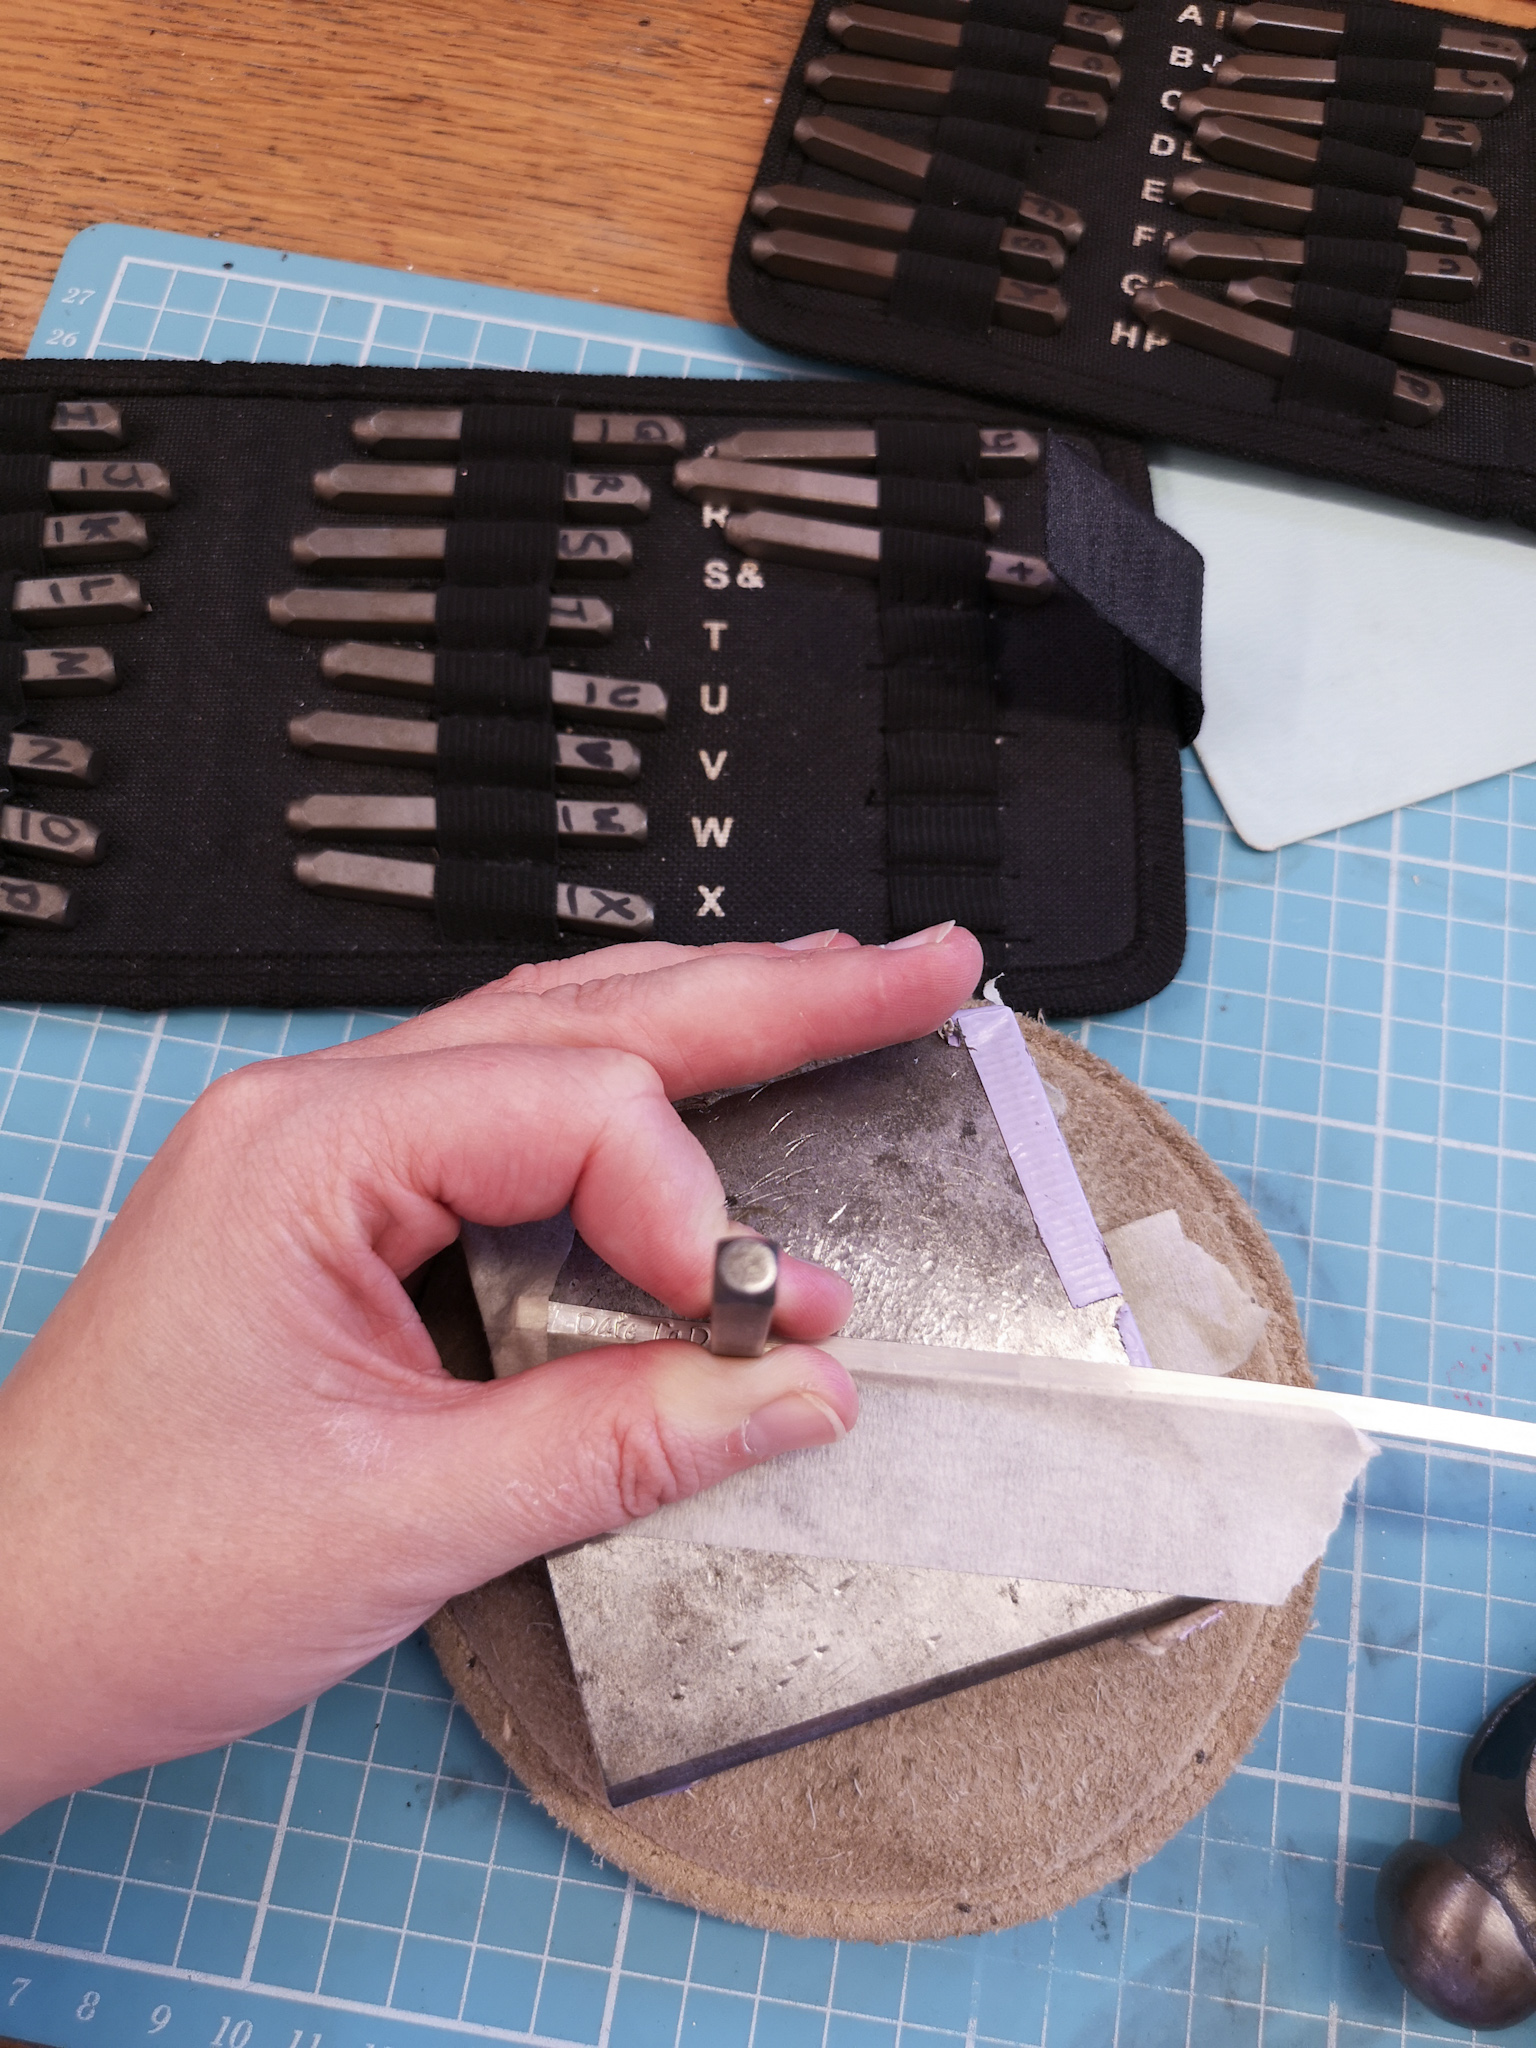
STEP 3 – Stamping your silver
Stamp your phrase onto the silver, using your tape as a guide. Take your time to get it right. Leaving the silver as a whole strip while you stamp means that if you make a mistake, you can move along the silver and start again without wasting too much silver. Once you’ve finished stamping, tap your piece on your block with a raw hide mallet to straighten it back out.
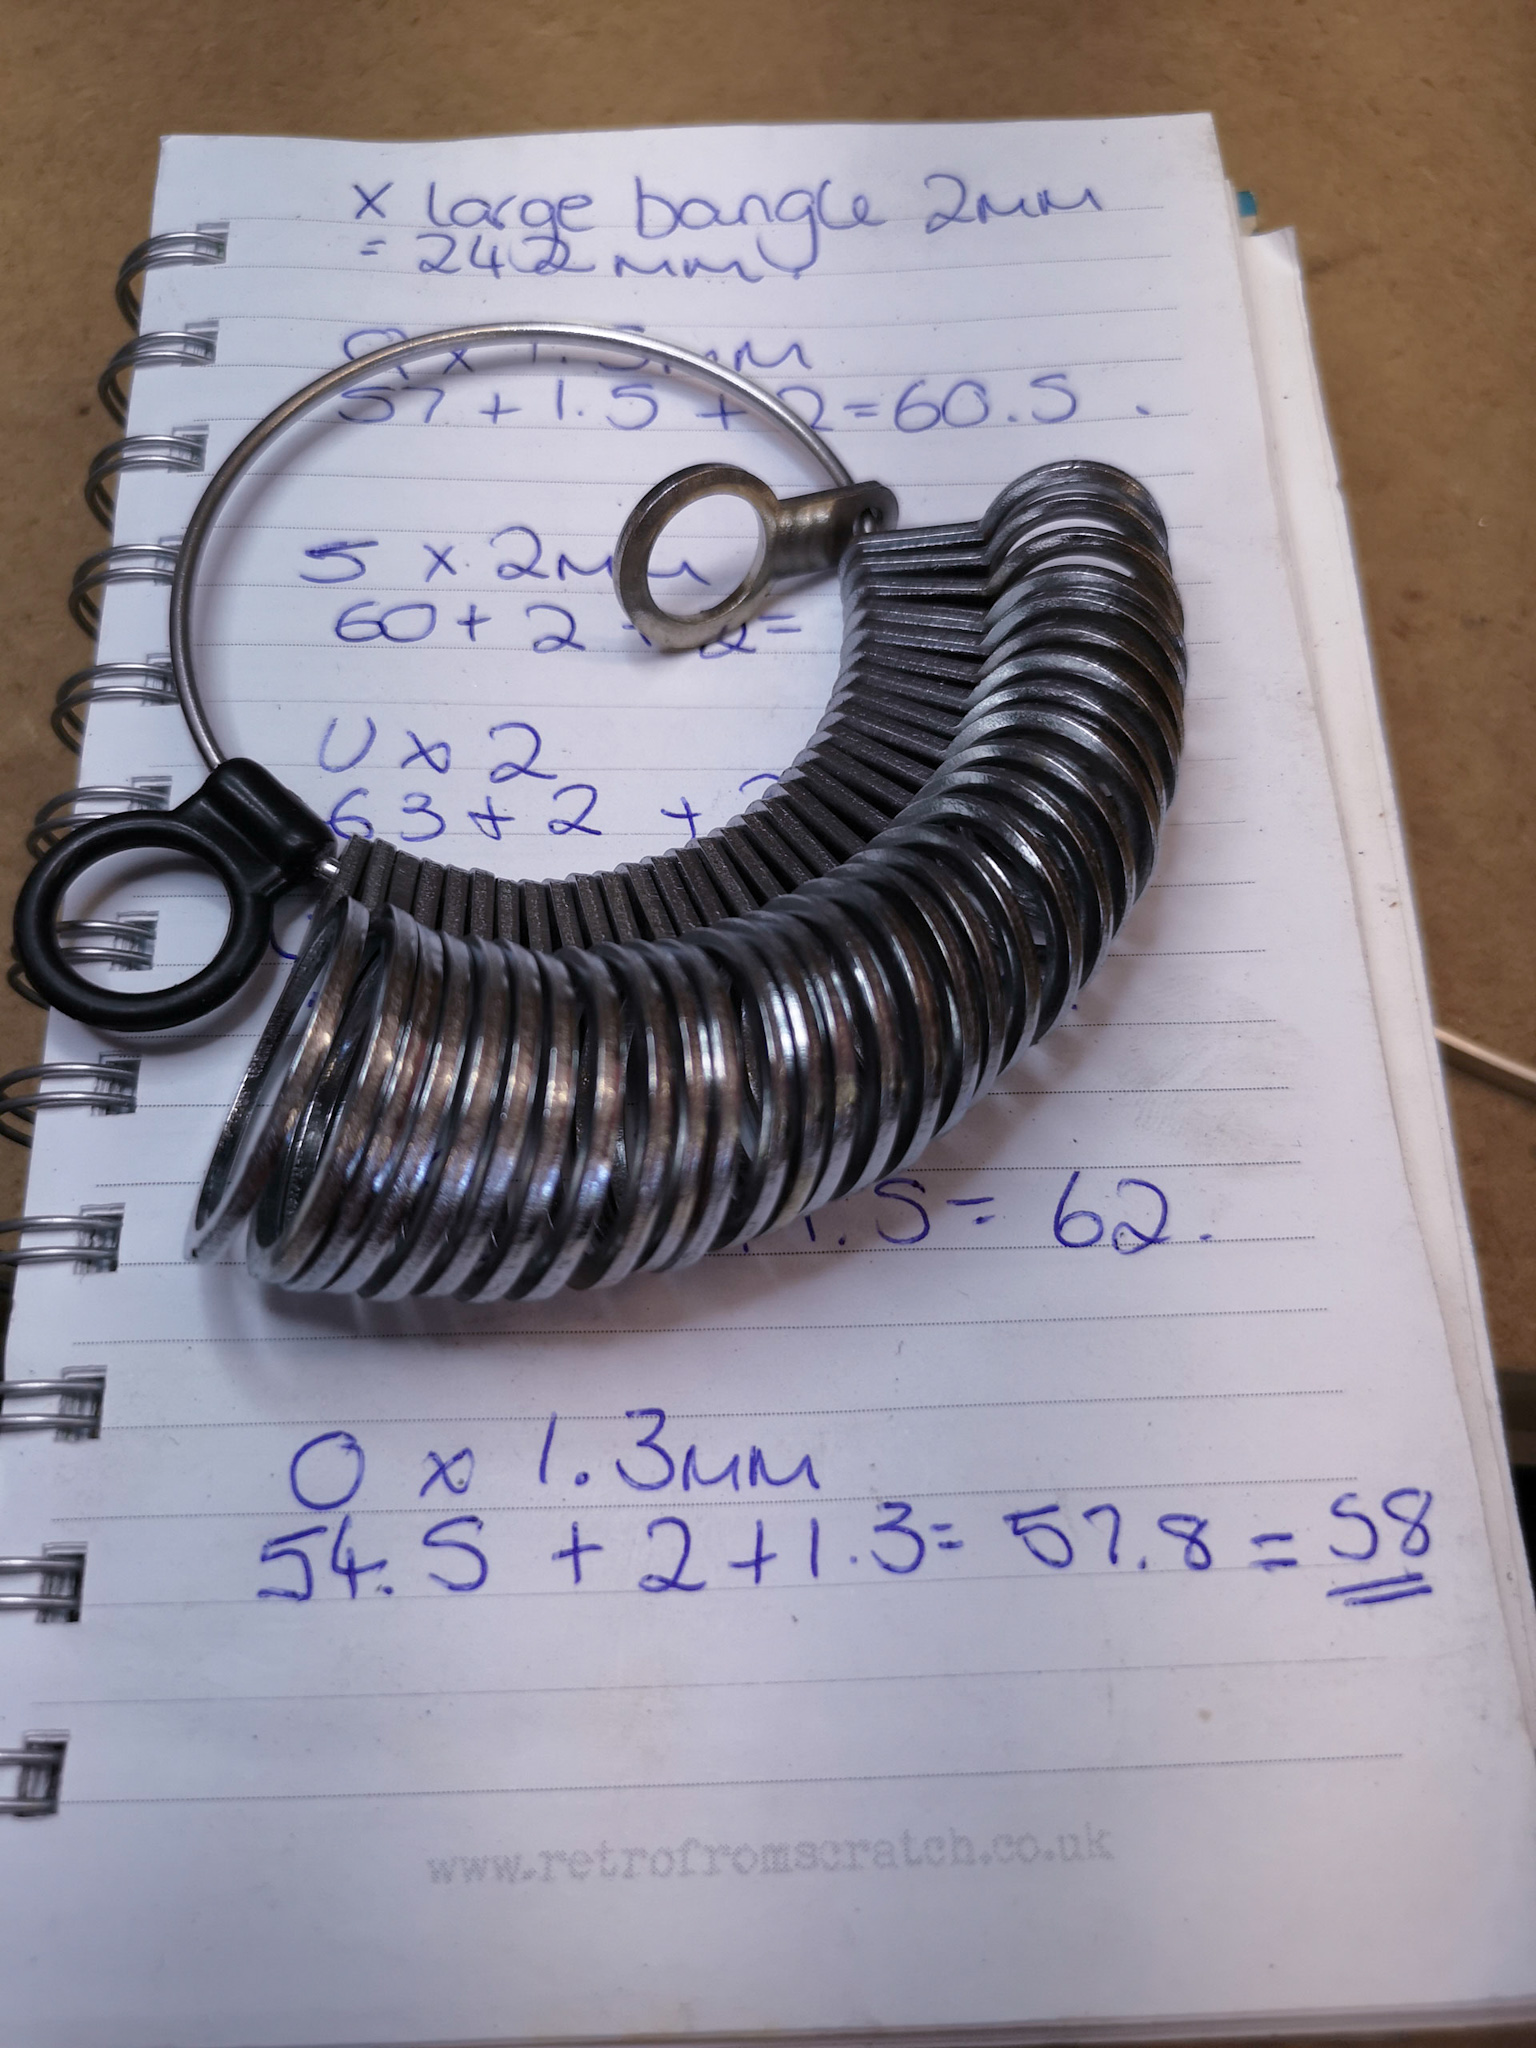
STEP 4 – Measure your ring size
Now use your ring sizer to measure the finger you’d like your ring to fit. Once you know your measurement, you can use a size chart to work out how long your silver needs to be. I’m using a size O, and on my ring chart this is 54.5mm, plus 2mm (this accounts for filing), plus 1.3mm (this accounts for the width of the metal. I’ve then rounded this up the extra 0.2mm to 58mm.

STEP 5 – Mark your ring
Mark your ring to the size needed above with a fine tipped marker, ready to saw.
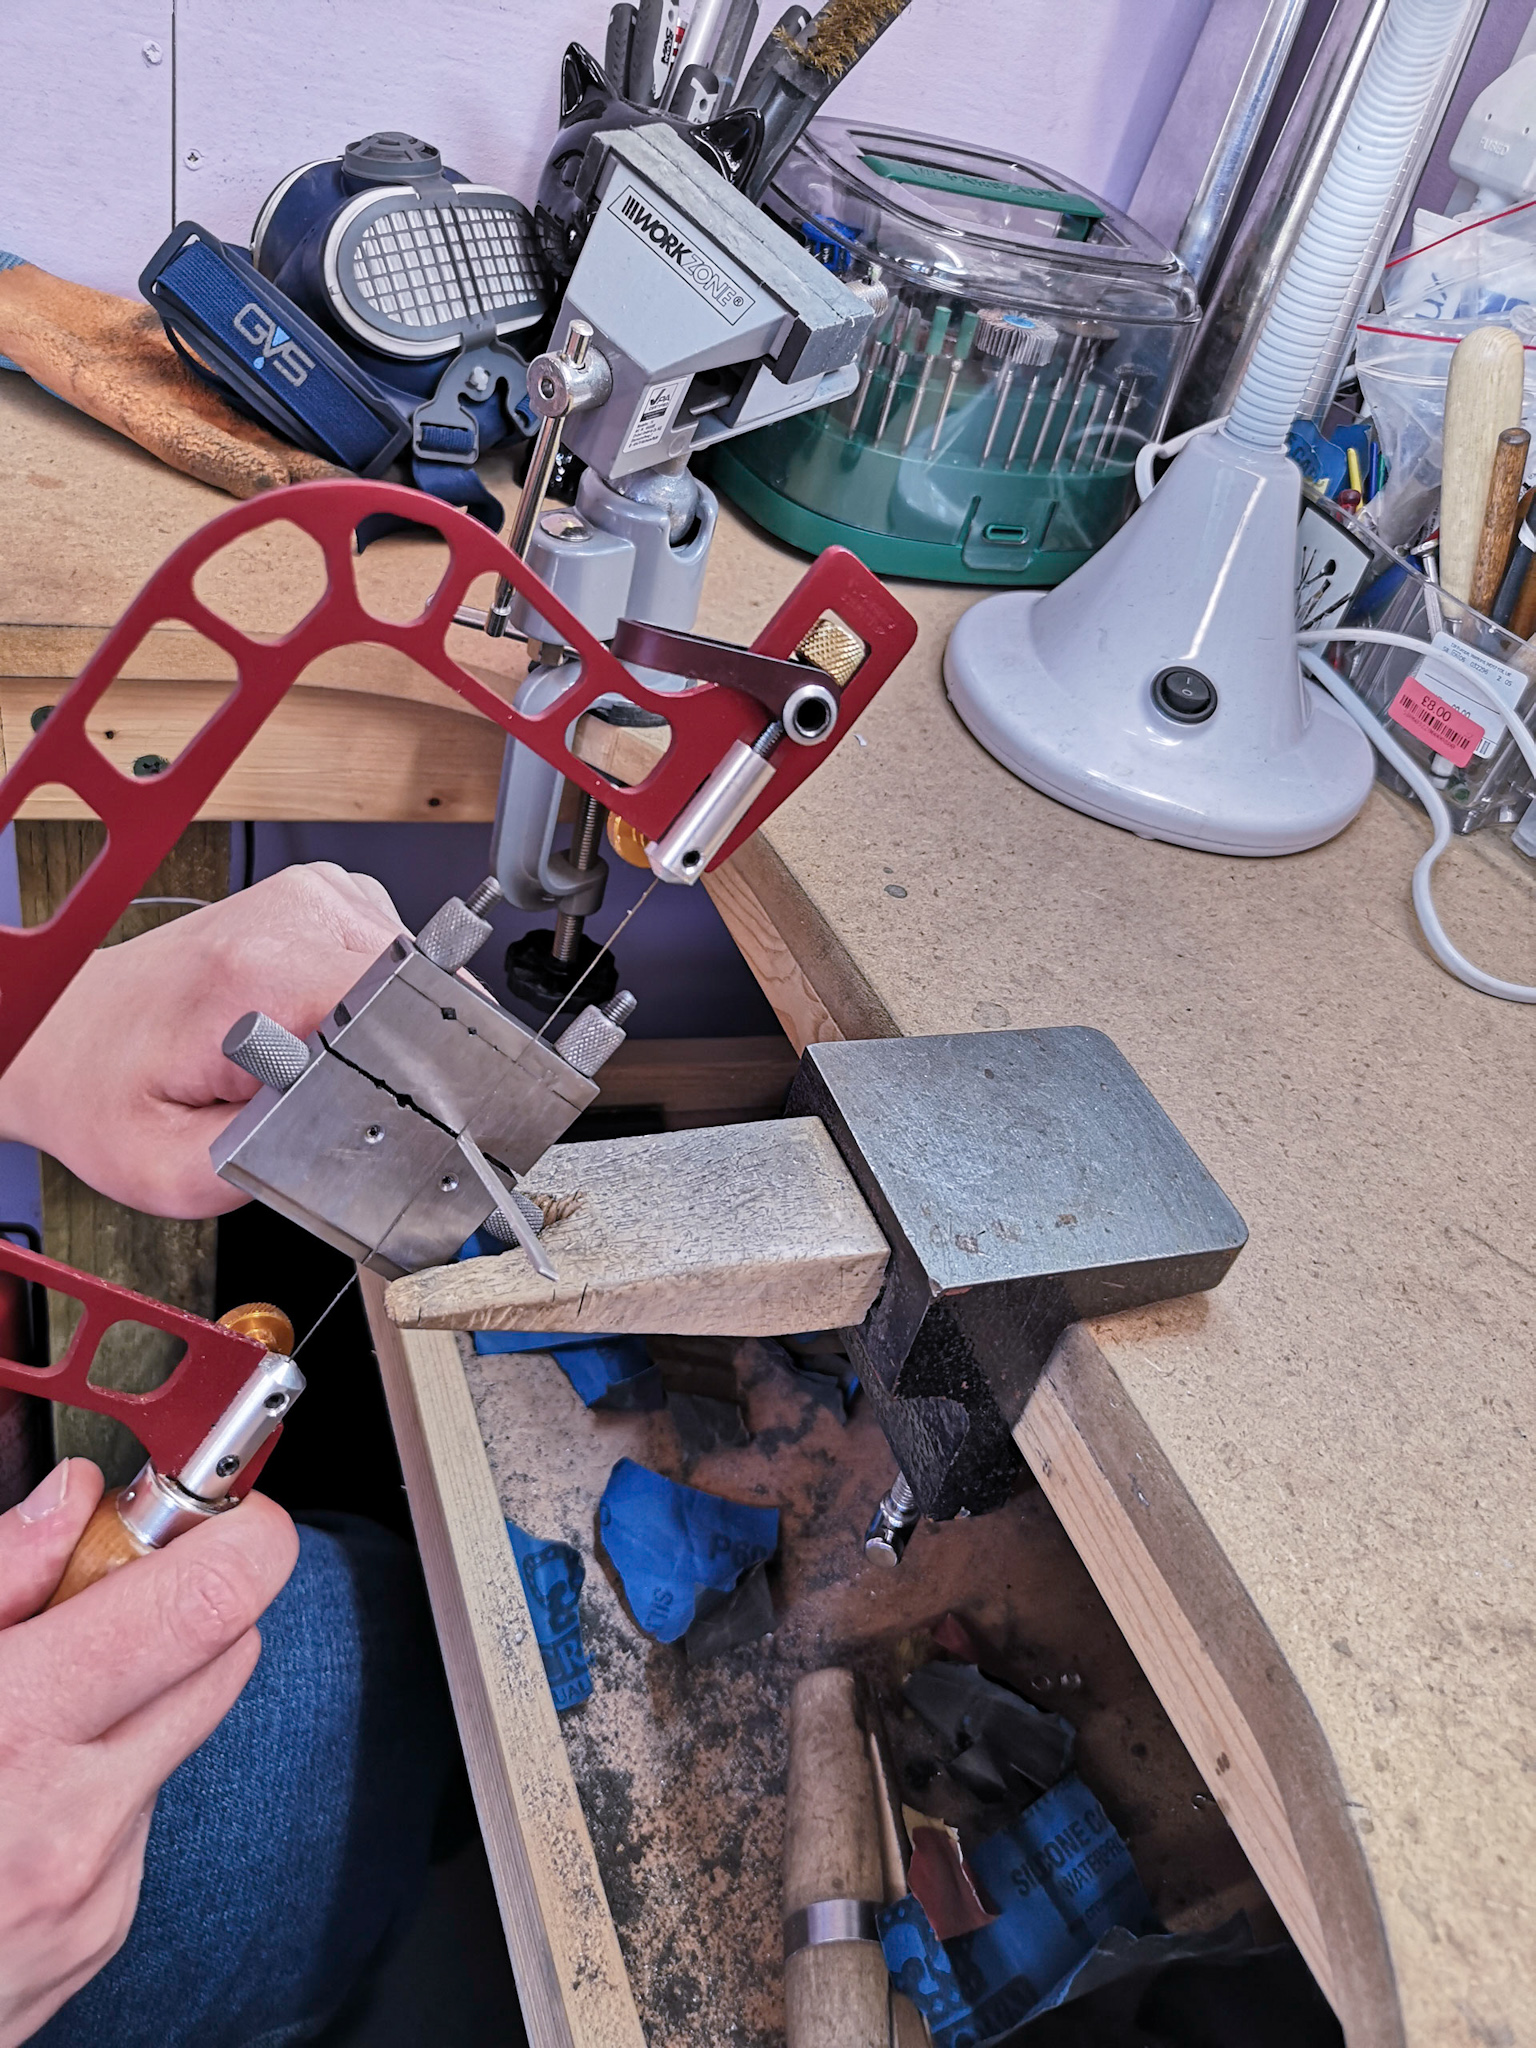
STEP 6 – Sawing to size
You can now either use a mitre jig to help cut your silver ends perfectly straight, or do this by hand.
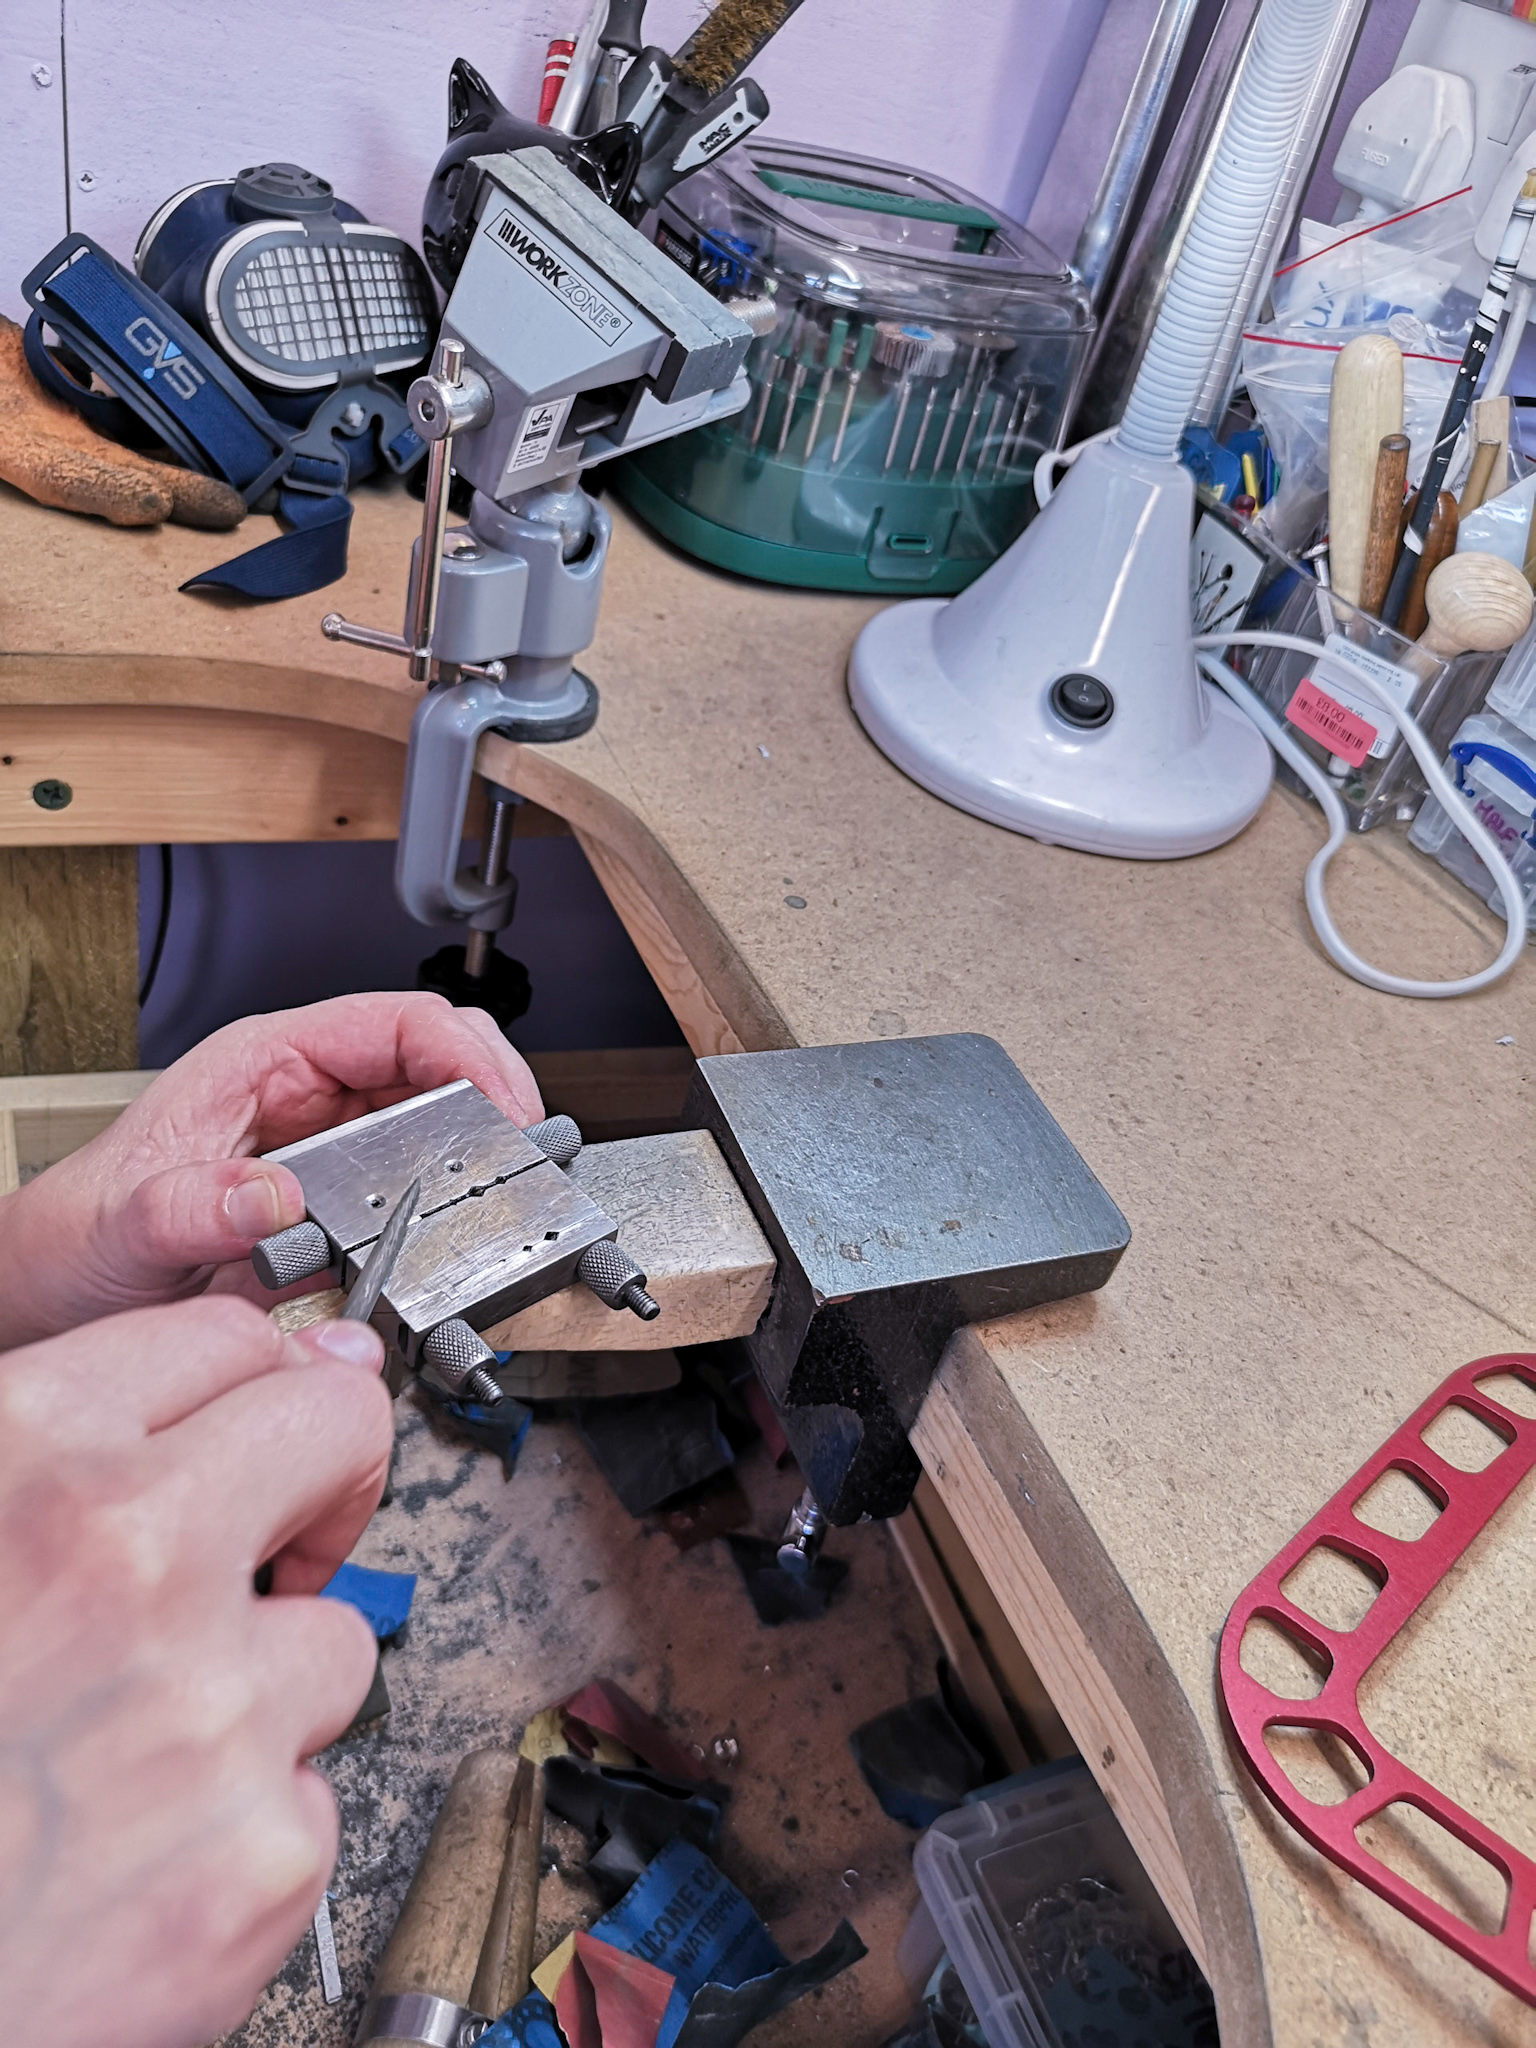
Make sure to file your ends as straight as possible ready for soldering. This will make any sanding much easier. You can either use the mitre jig for this, or again, do this by hand.
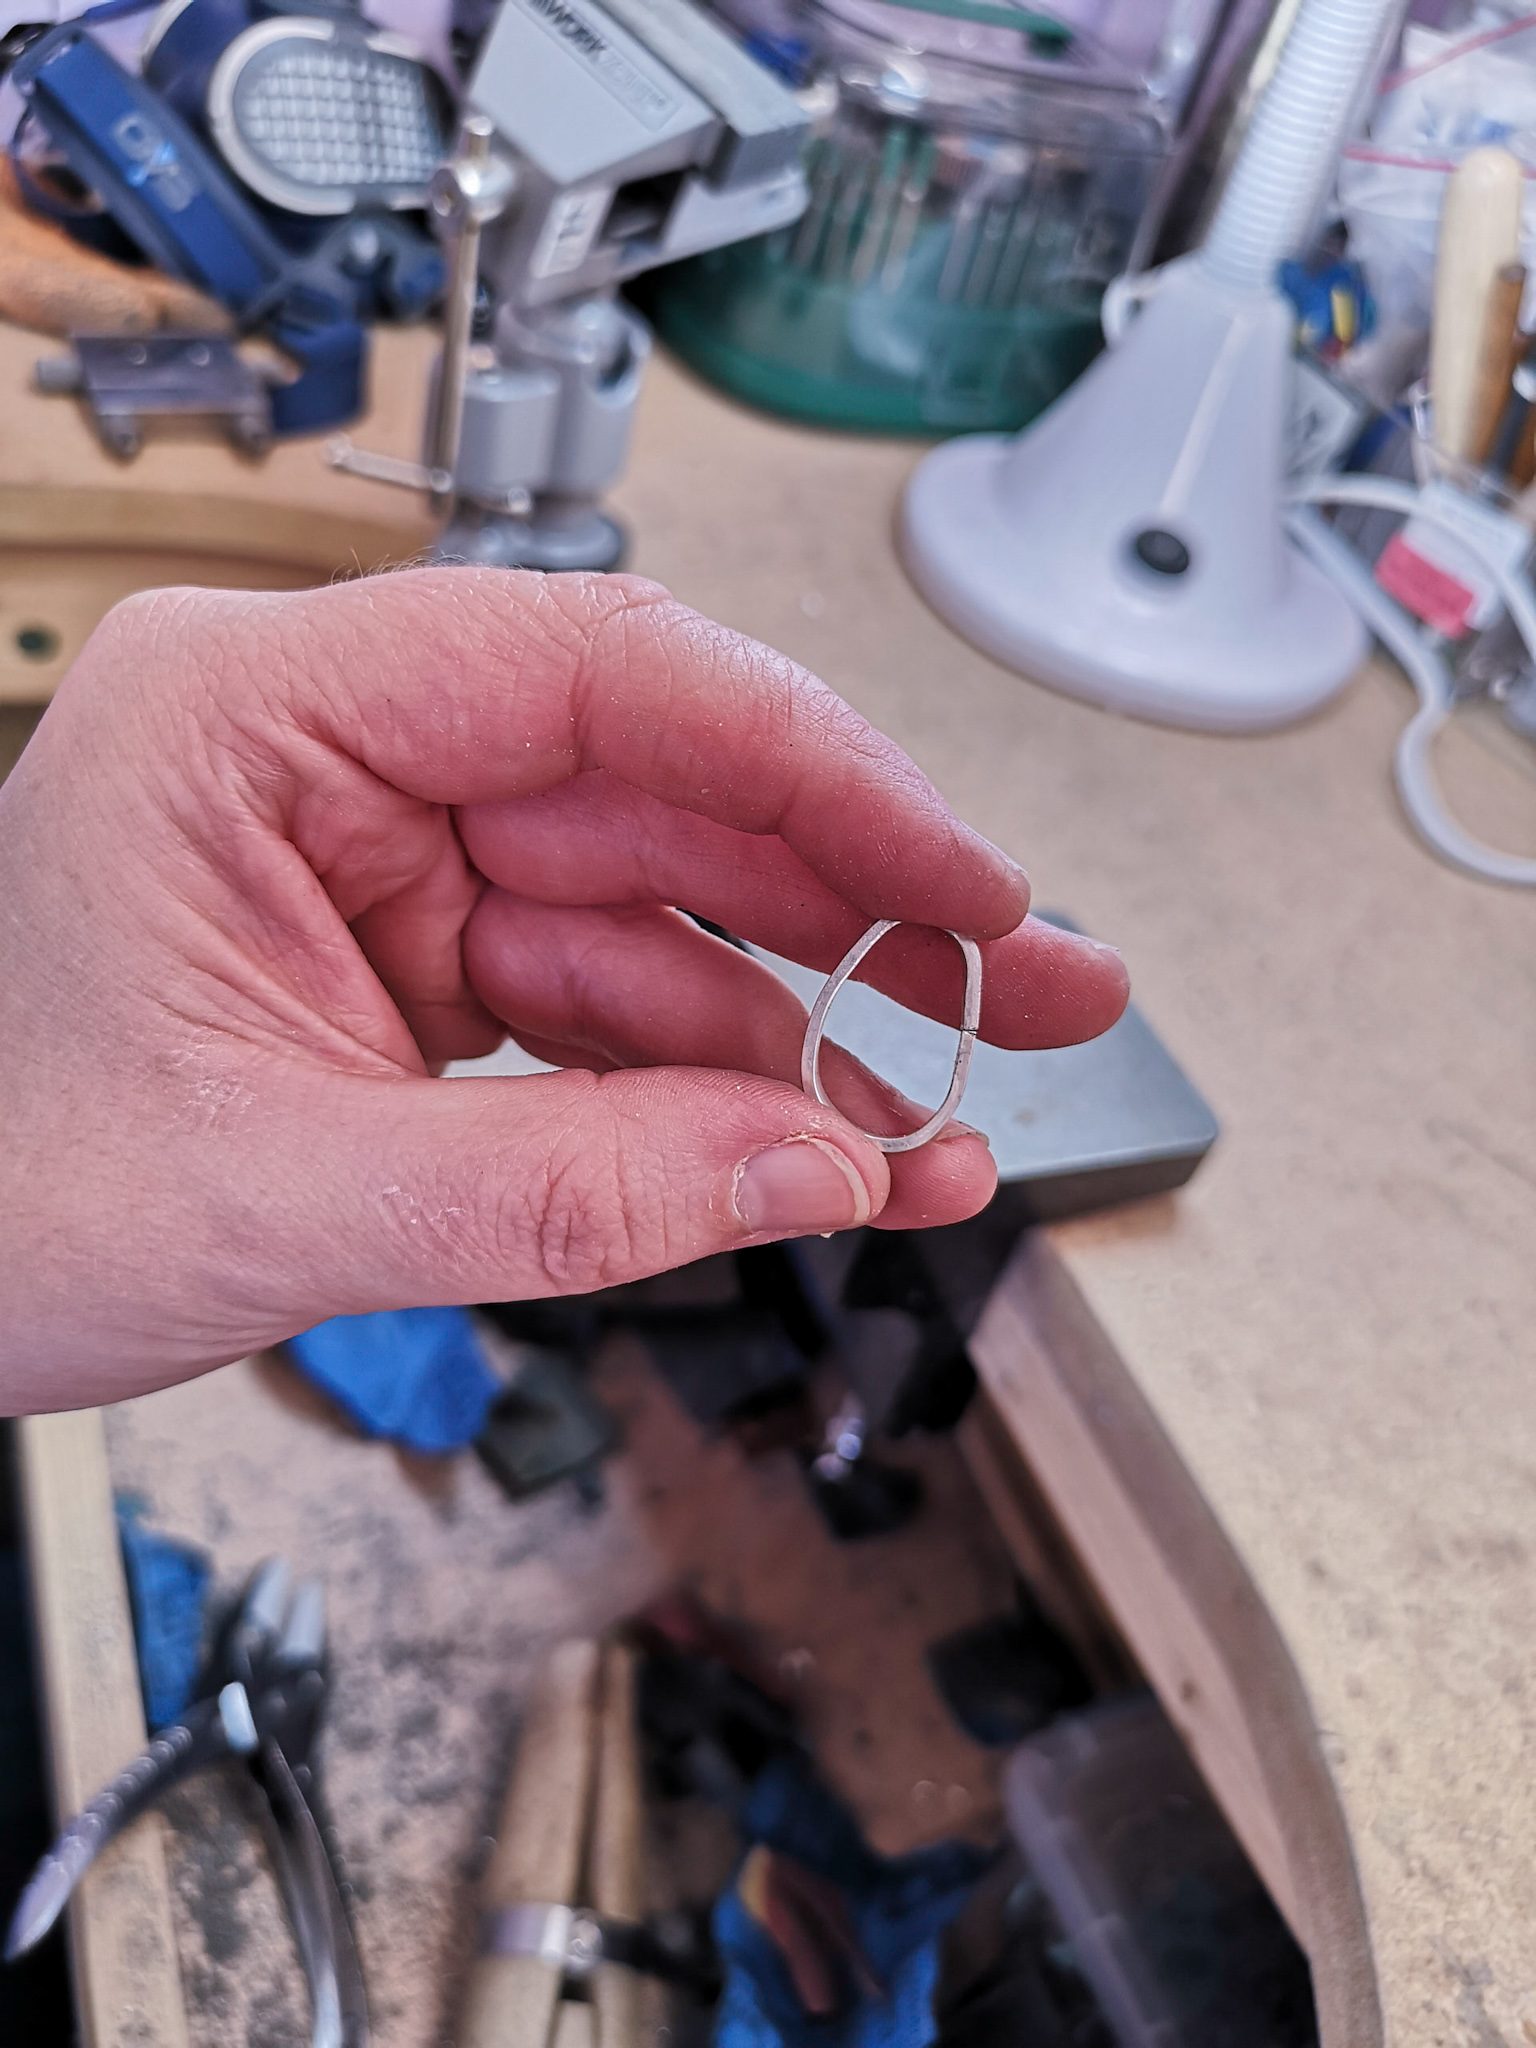
STEP 7 – Getting ready to solder
Using ½ round and parallel jaw pliers, form your ring into a D shape, so that both ends sit flush and push against either other tightly. It’s worth wriggling both ends back and forth over each over to get a perfect join.
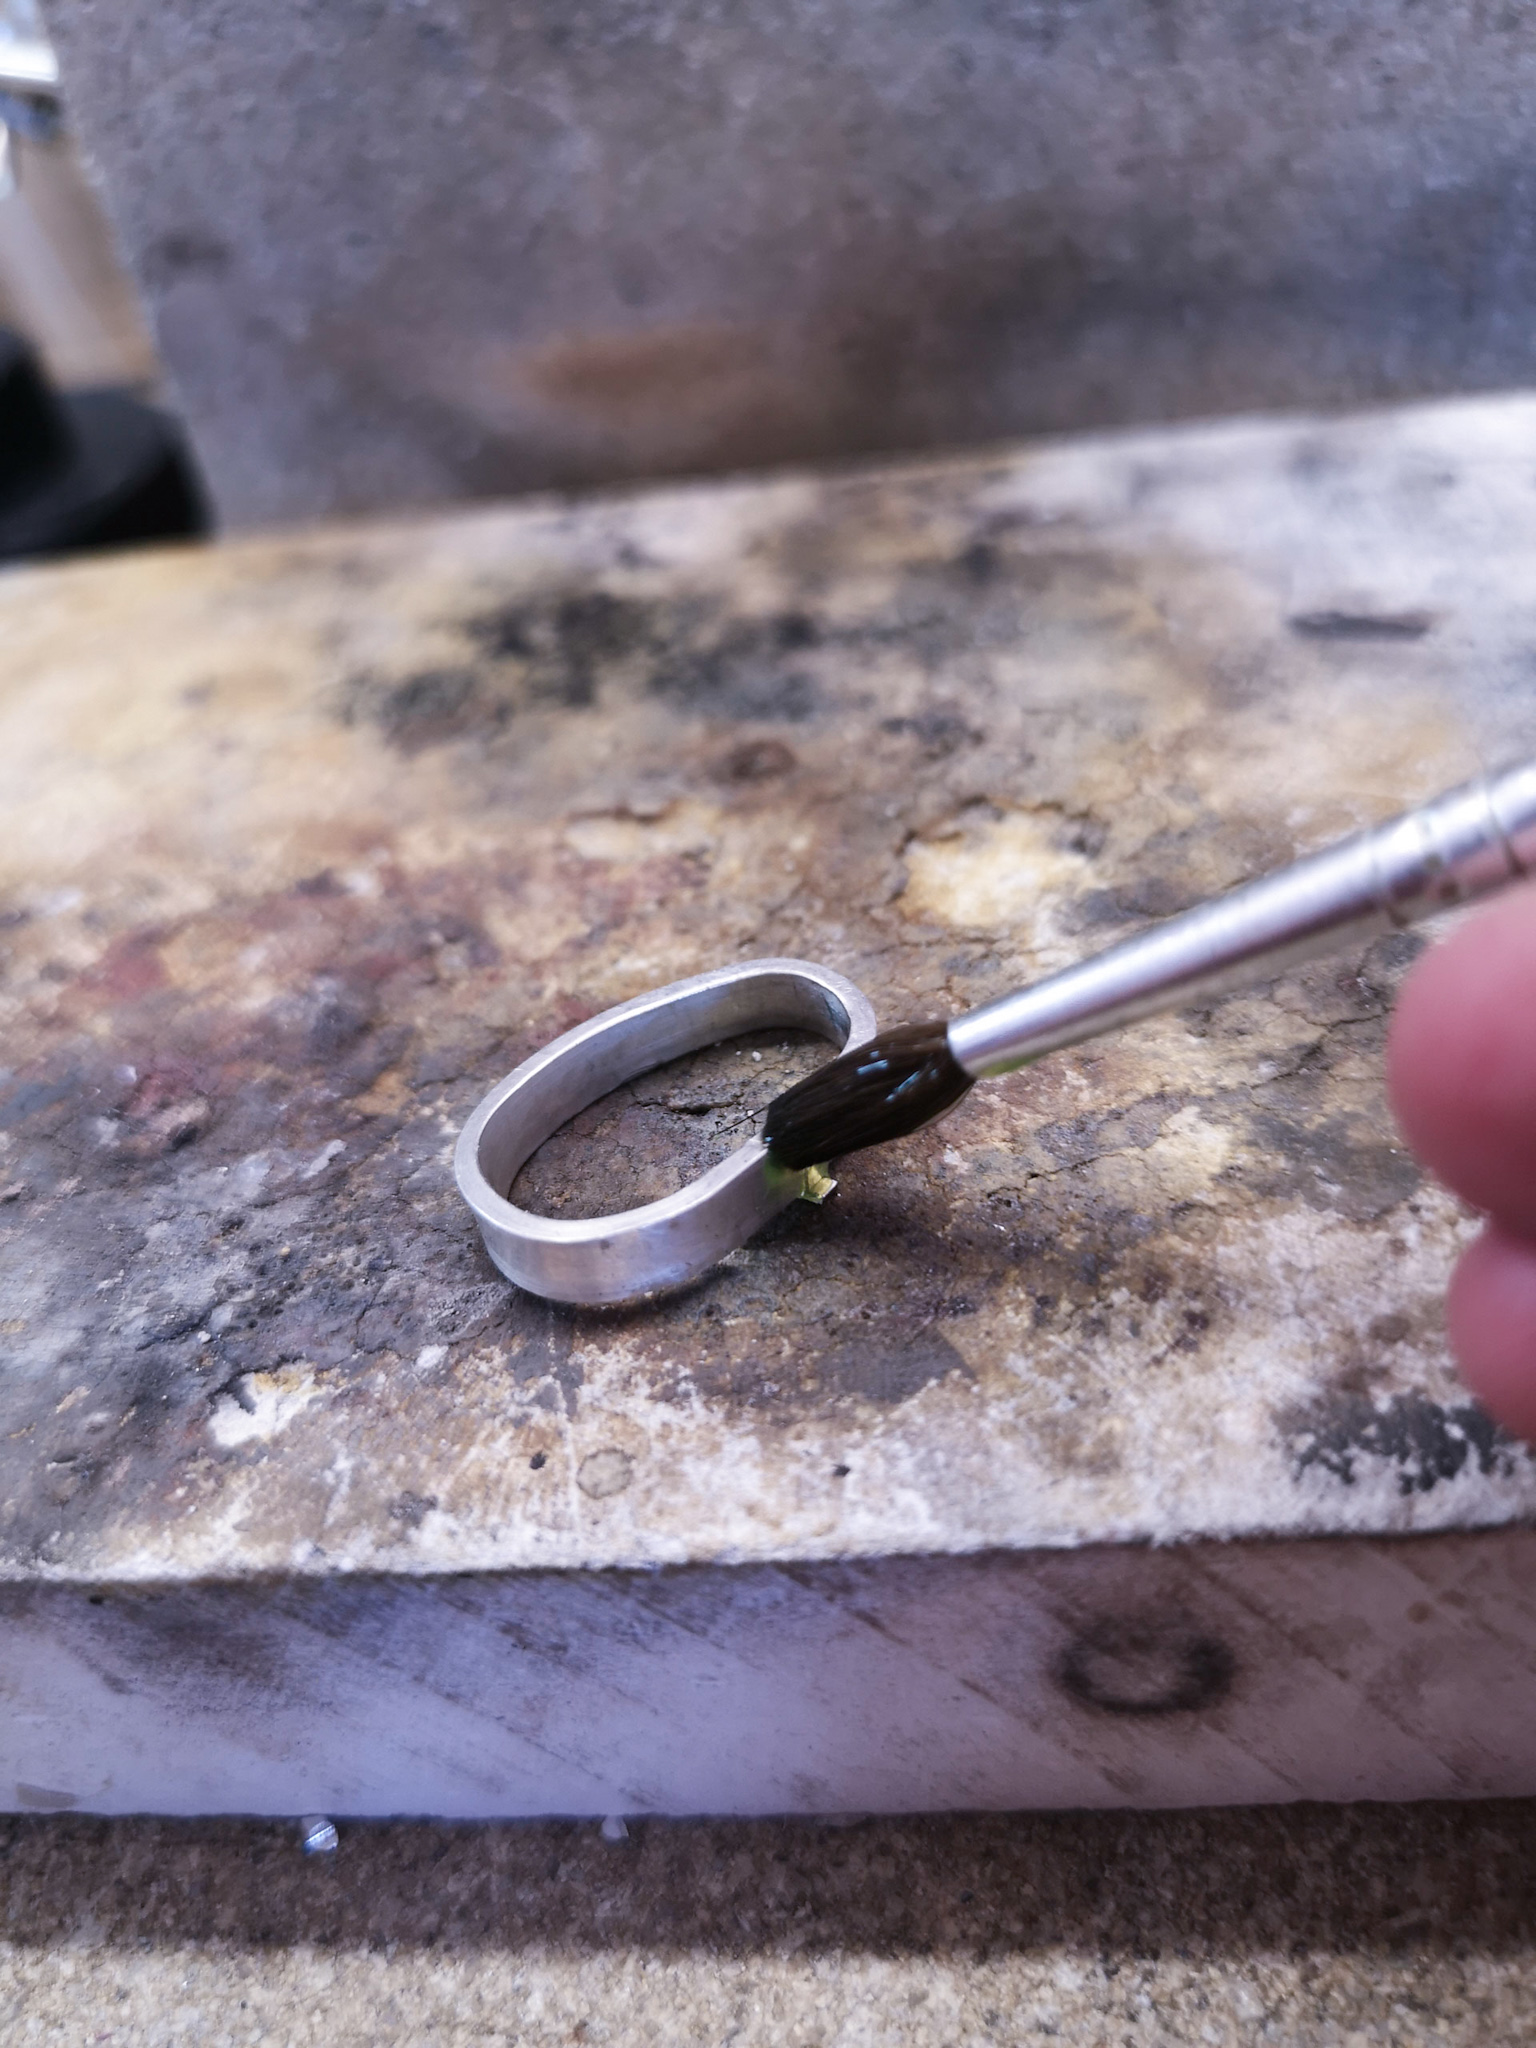
STEP 8 – Soldering
Place a pallion of easy solder under the join in the ring on your soldering block. Coat the join and solder with liquid flux- ensure both sides of the join are coated. Prepare a quench bowl with water, and get your safety pickle up to temperature.
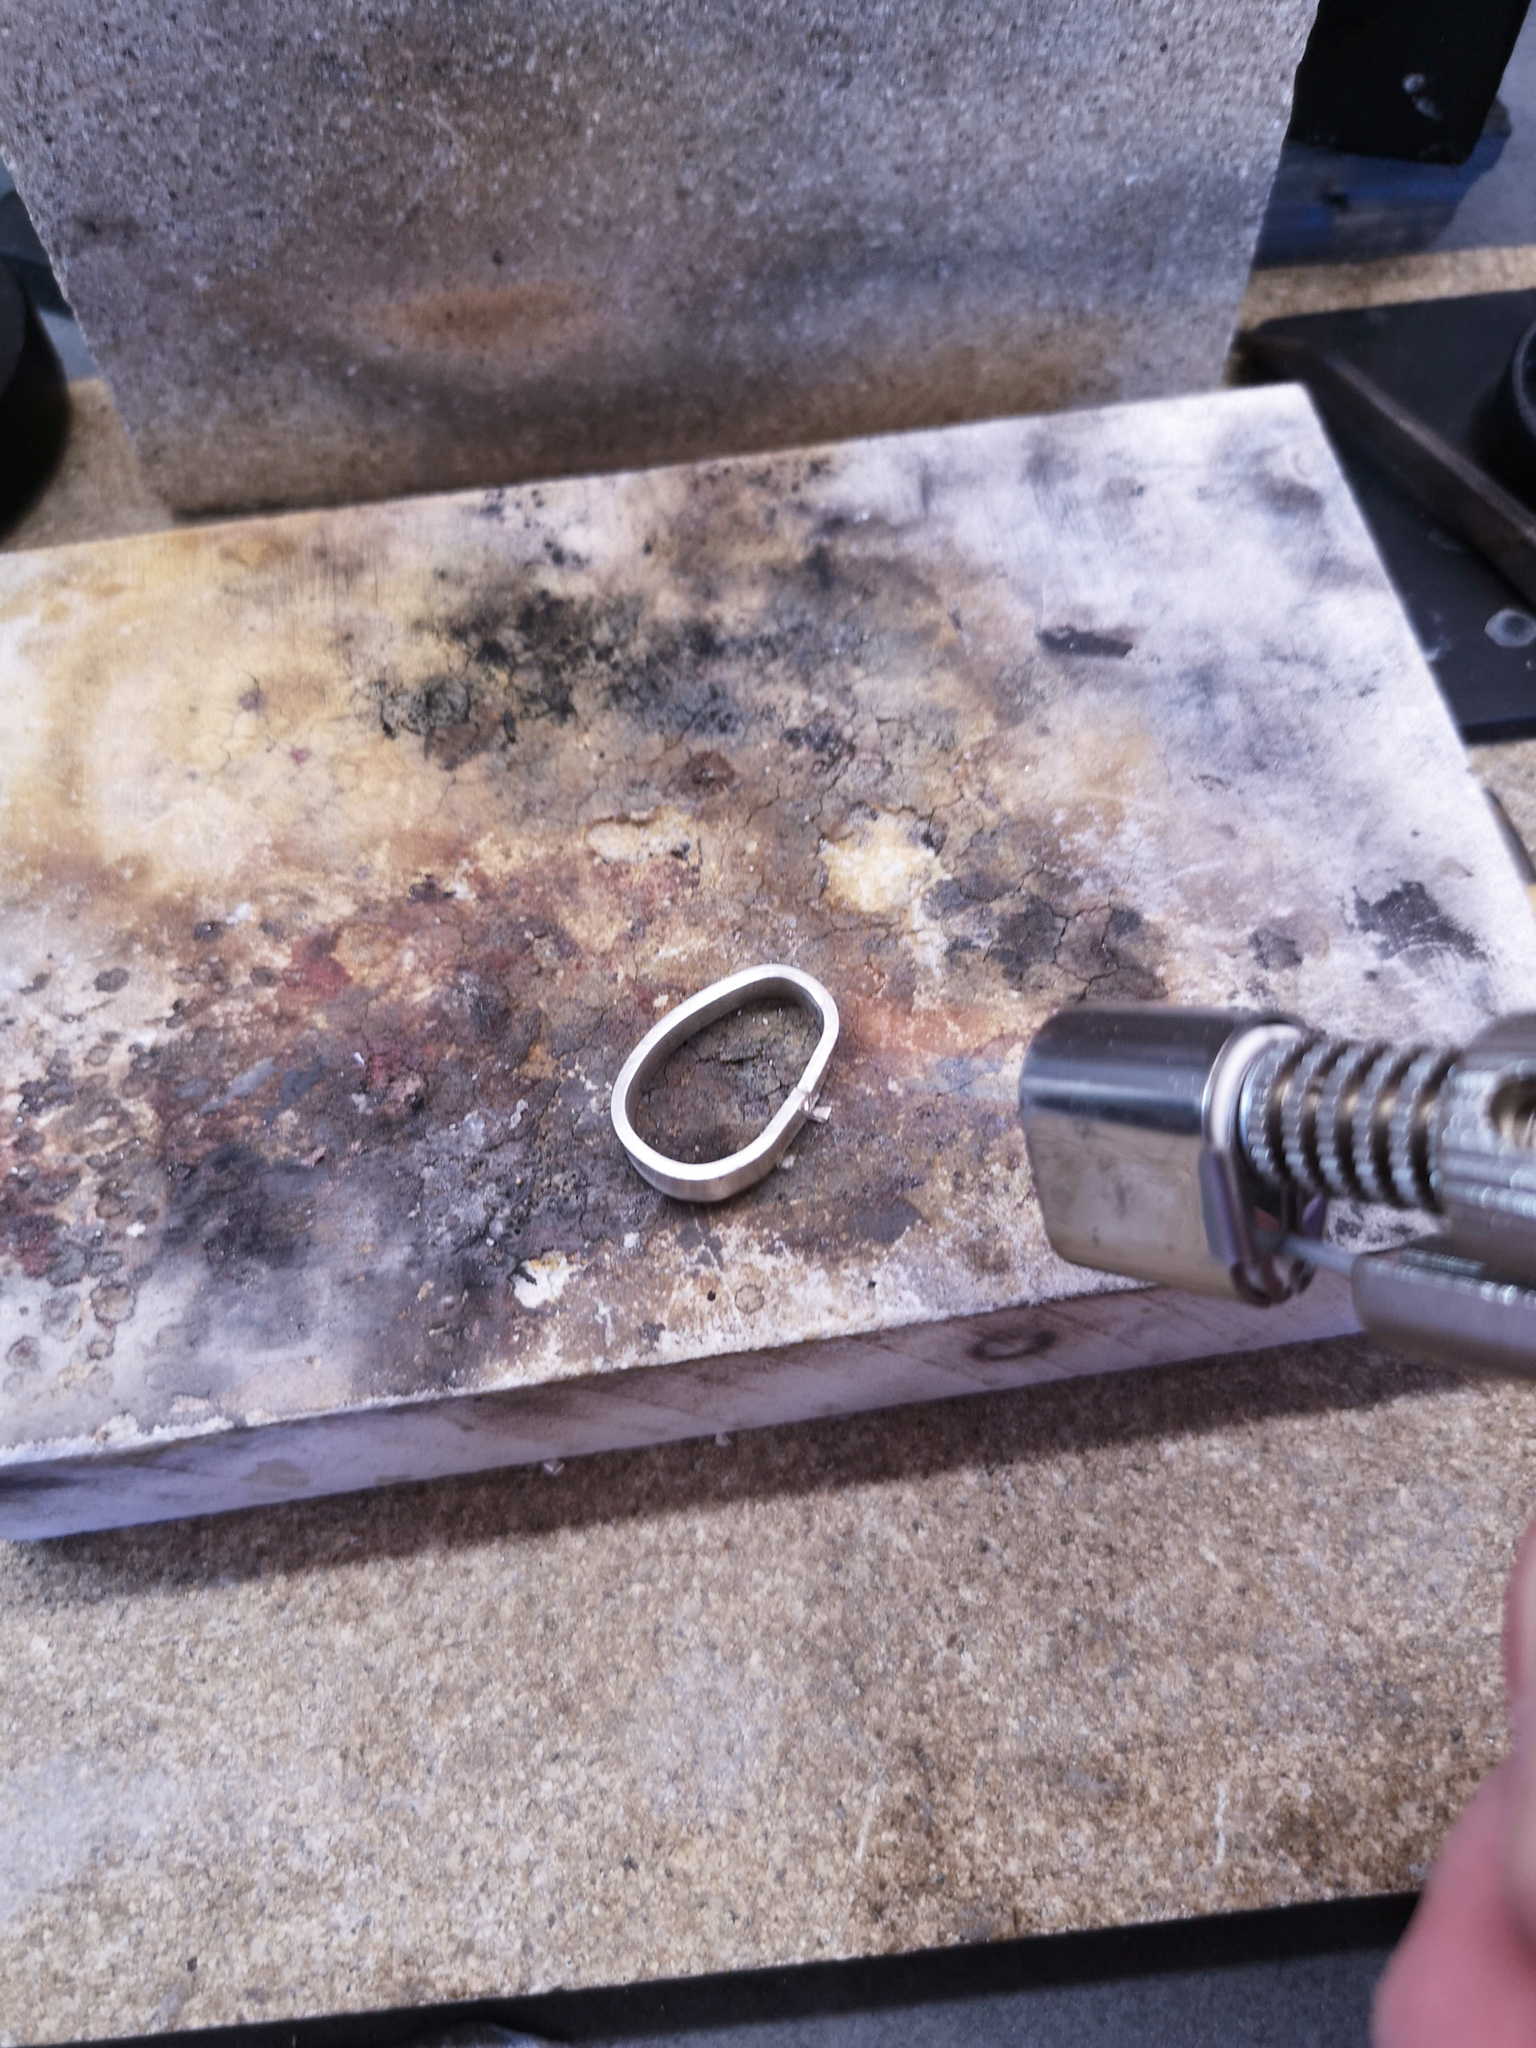
Use your blow torch to gently heat the whole ring to get the piece up to an even temperature. Now hover the flame over the join until the solder runs- keeping the flame moving to prevent melting the silver. Remove the heat once the solder has run. Place the piece into your quench bowl with reverse action tweezers- do not touch the piece by hand until it is quenched! It’s super hot! Your piece can now be safely placed into the warm pickle solution (remember to use plastic tweezers for the pickle to prevent contamination) Leave in the pickle until the ring has turned white and the fire scale is removed, then remove the ring (again using the plastic tweezers). Rinse the ring in the quench bowl.

STEP 9 – Forming the ring
Place your ring onto your ring mandrel, and using the rawhide mallet, tap the ring into shape. You can also tap the ring flat by placing it onto your steel block and hitting down onto both flat sides to get a perfect shape. Double check the size of your ring is correct, as you can hit the ring down the mandrel to enlarge it a little at this stage.
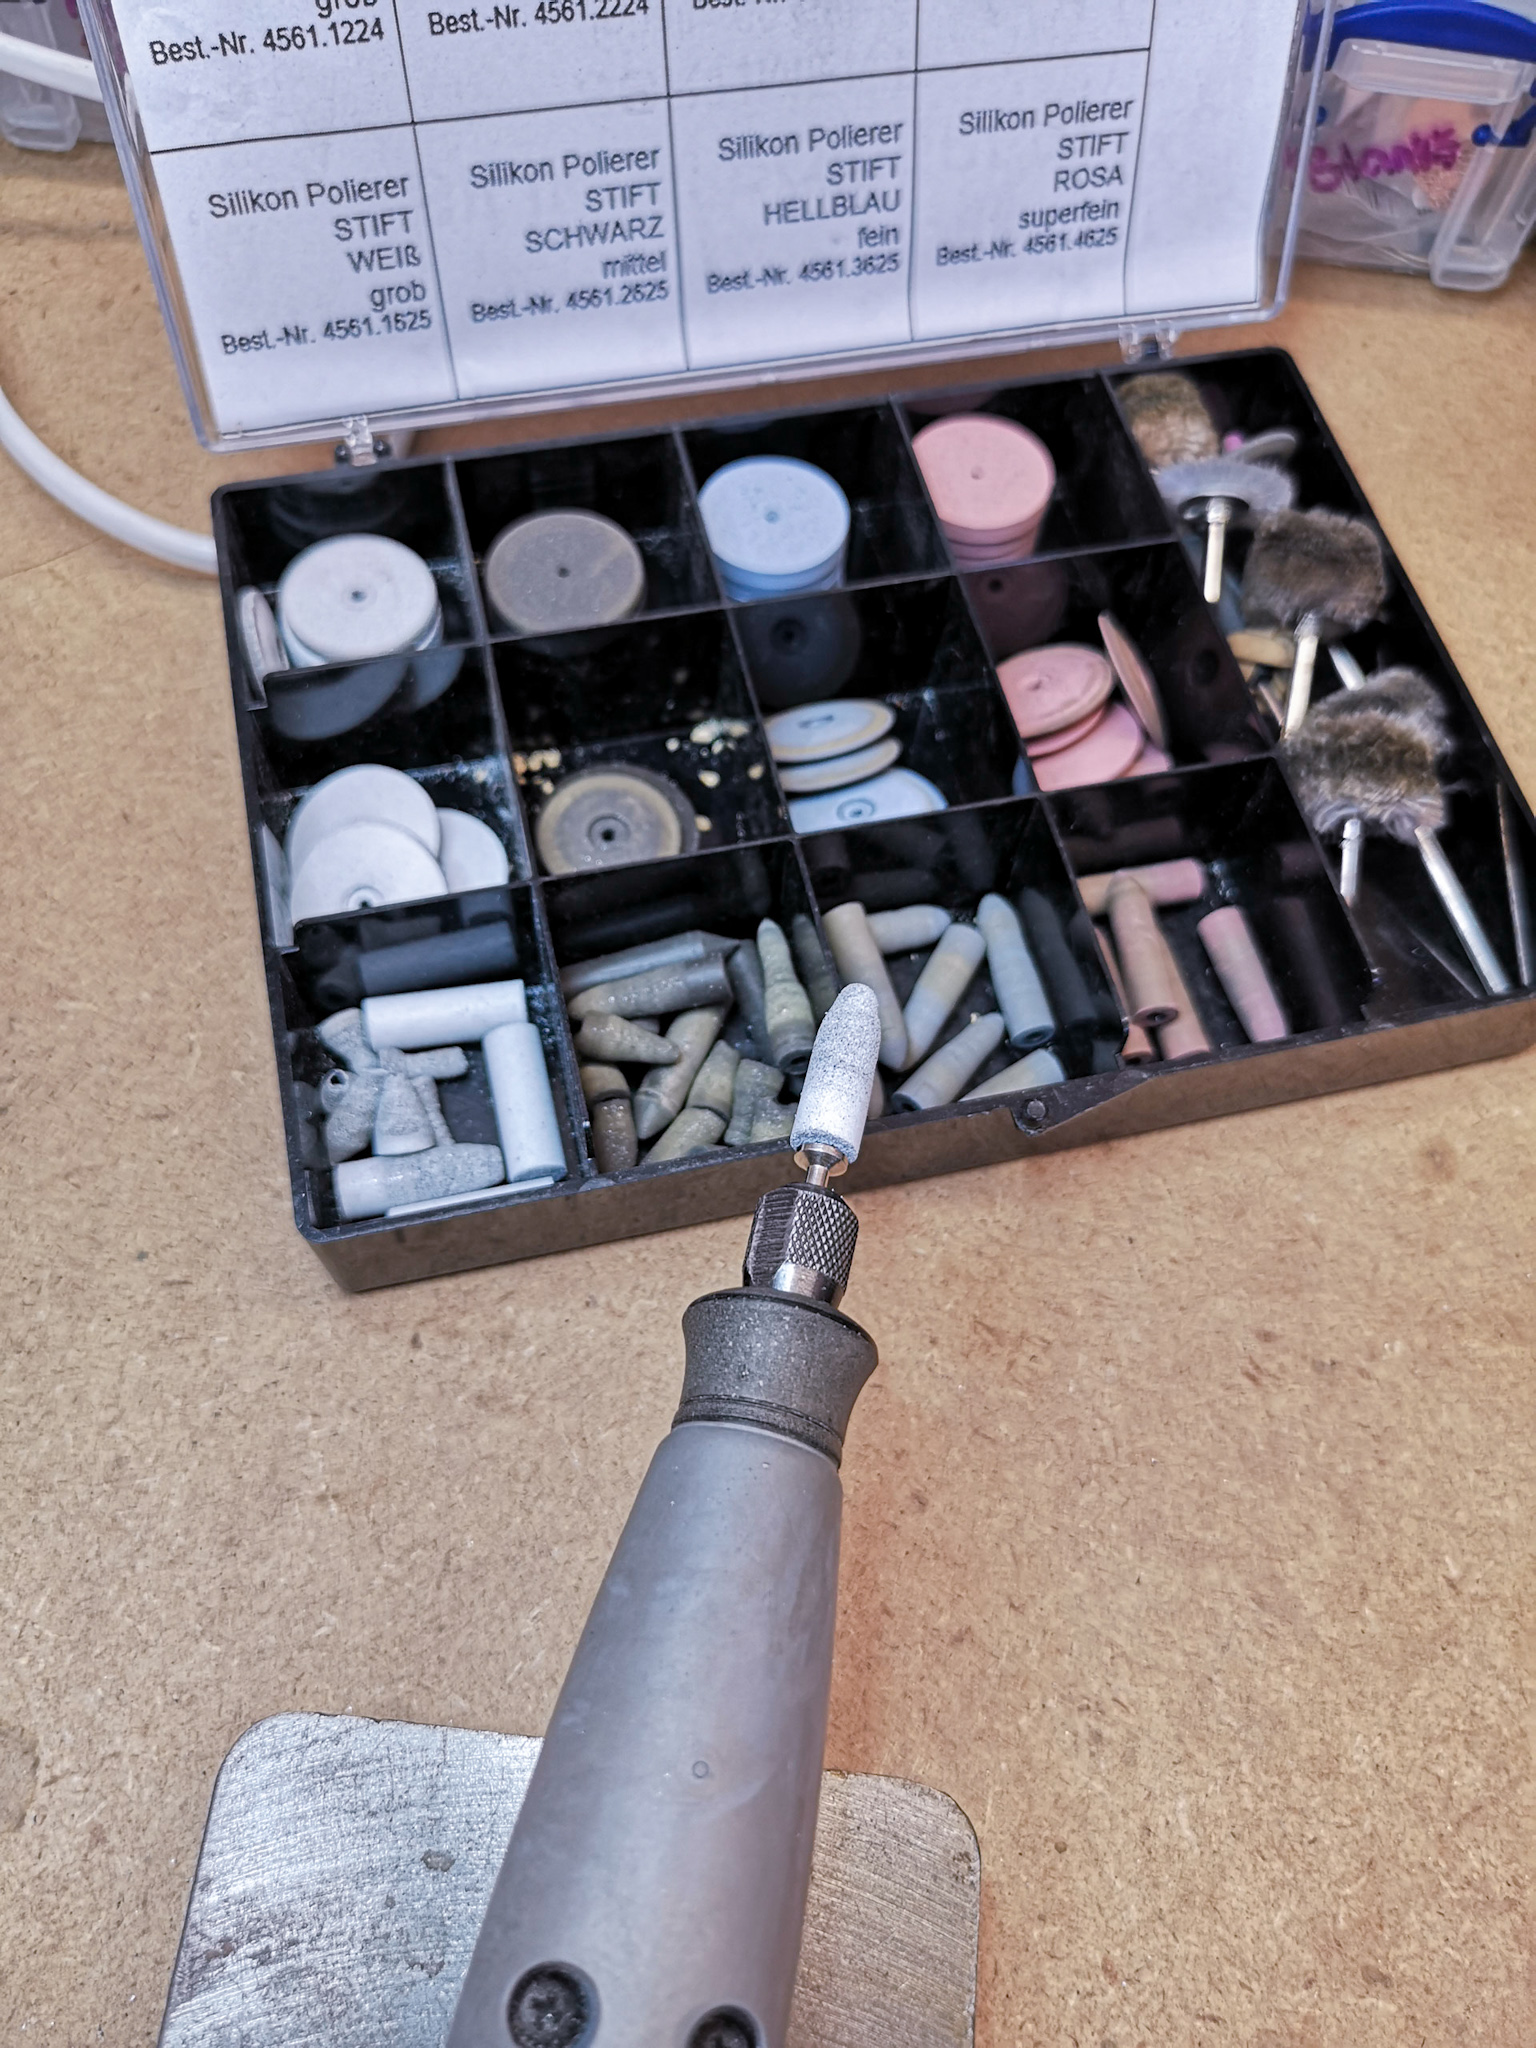
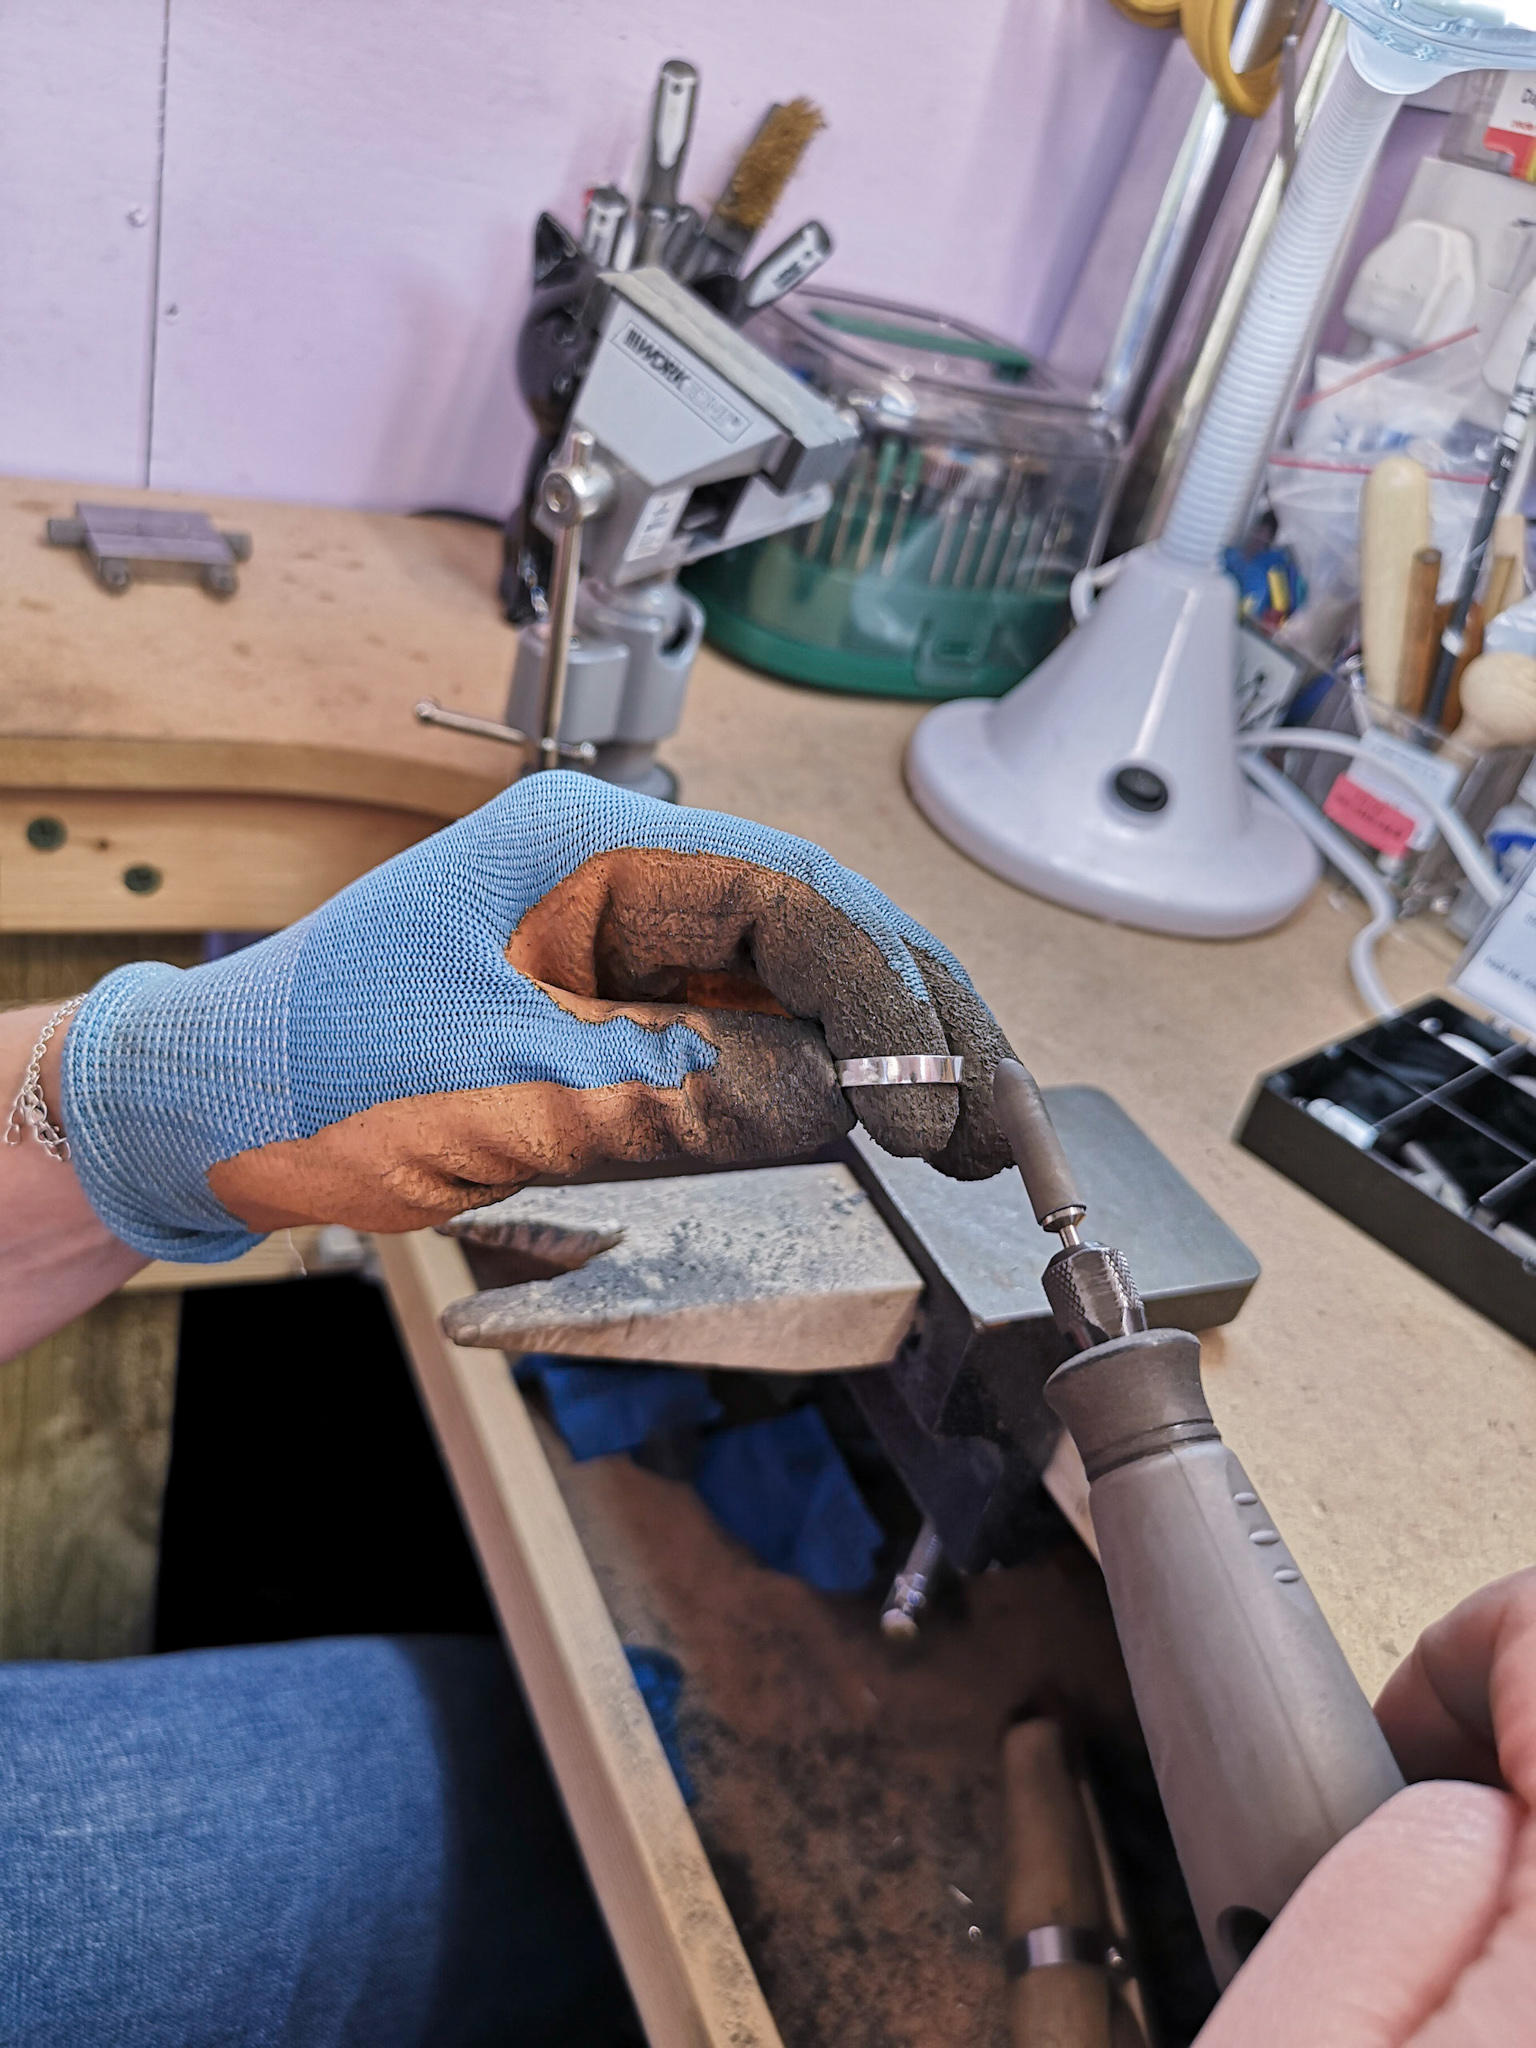
STEP 10 – Finishing
Now you’re ready to finish the piece! Use a small, half round needle file to tidy the join if needed. Then you can either work though sandpaper grits (400, 600, 800, 1000, 1200, and 0000 wire wool) to finish your ring, or if you have a rotary tool such as a Dremel like I do, you can use the silicone points kit grits (white, black, blue, pink) to work through the finishing stages. Don’t forget to wear a dust mask and safety specs!! I also wear a glove when using my Dremel, as the silver gets really hot!
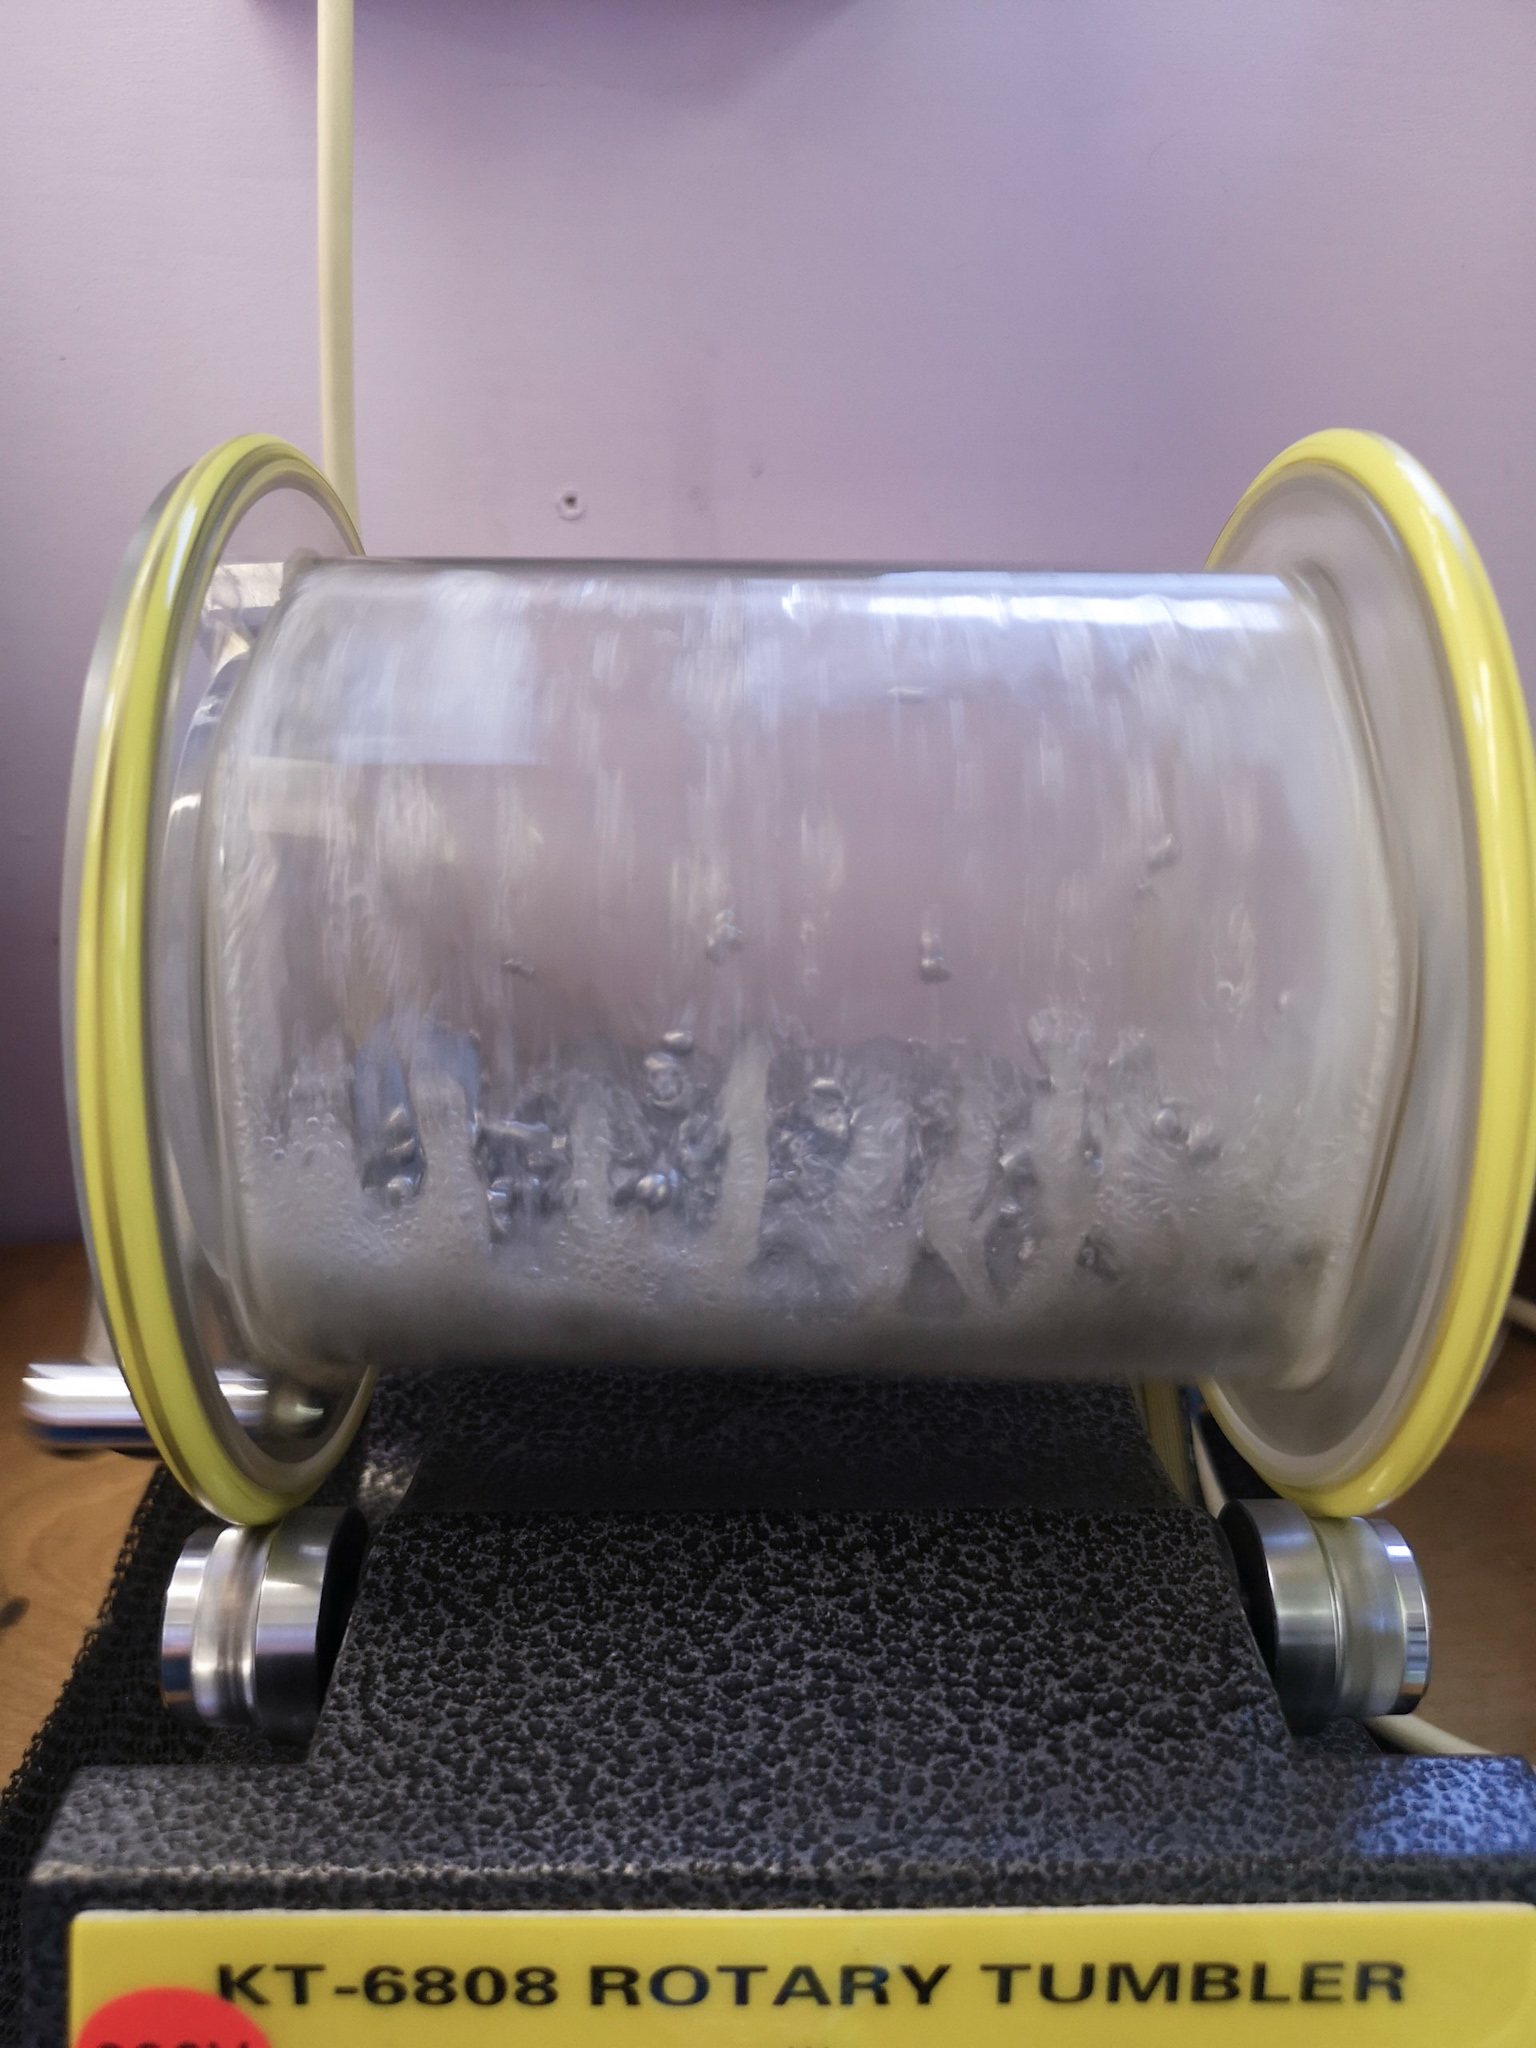
If you have a rotary tumbler, you can use this now to burnish the ring.
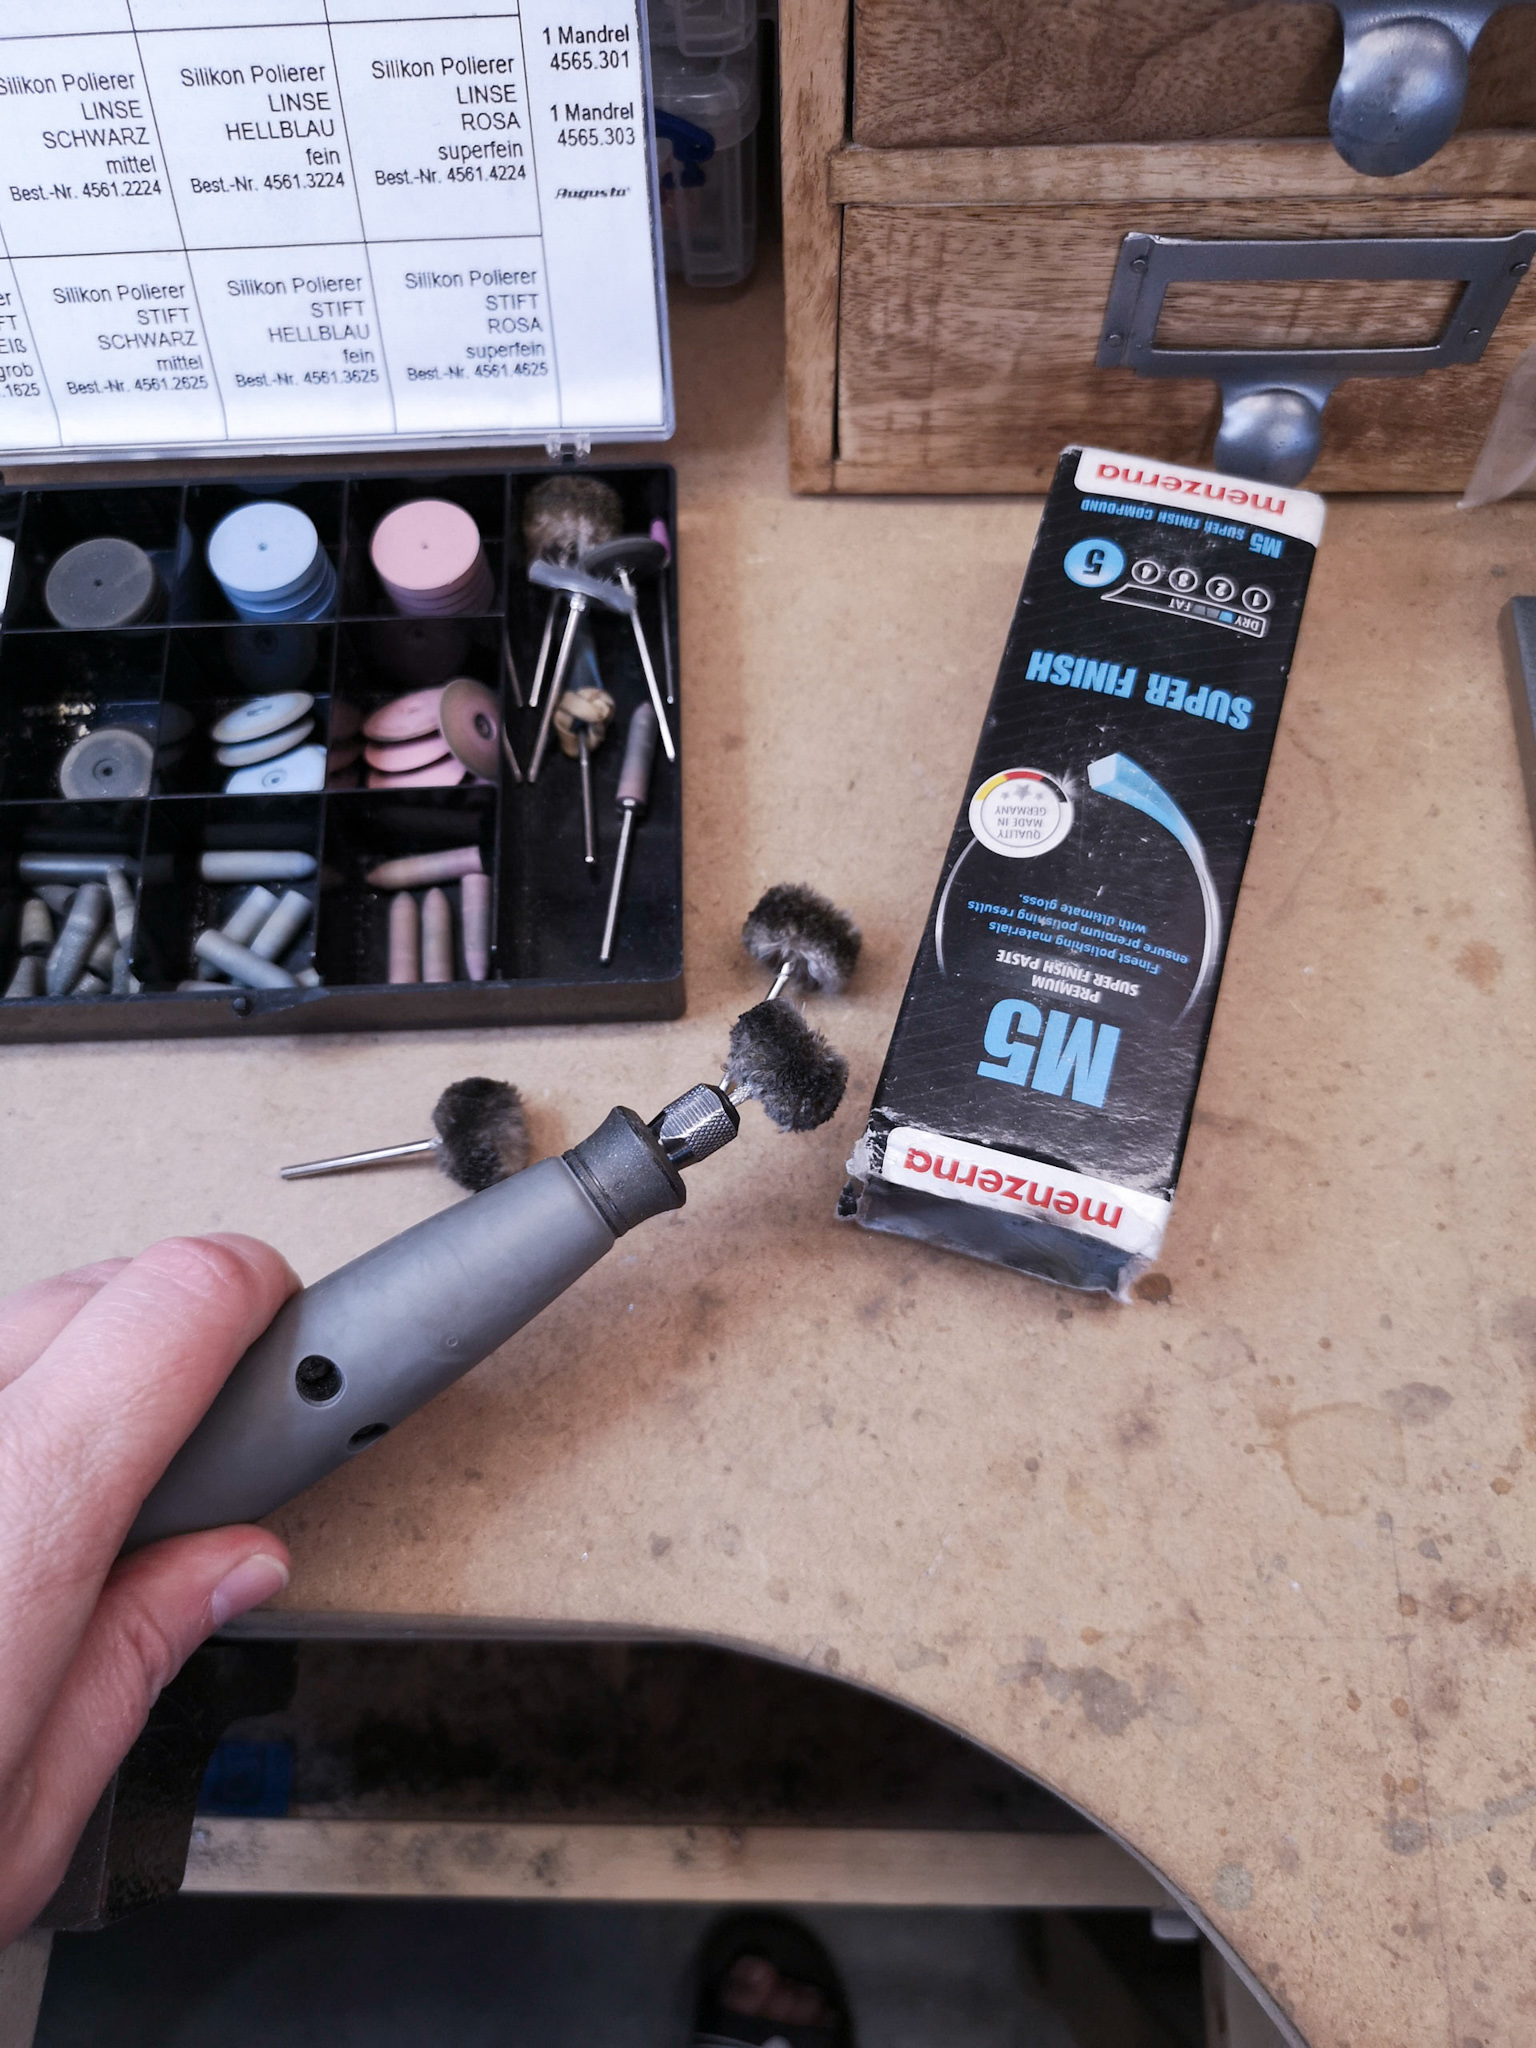
STEP 11 – Final Polish
If you have a rotary tool, now use a cotton mop with polish all over the ring, and follow up with a wool mop with polish to finish (don’t forget to wear a dust mask and safety specs!) Wipe over with a silver polishing cloth to remove any leftover polish and to buff the ring to a super shiny finish. Now wear your beautiful handmade ring with pride!
 Written by Kirsty Halsey aka Little Black Cat
Aa self-taught contemporary silversmith, who uses tradition techniques to create designs in Sterling Silver. She specialises in unique, meaningful and personalised jewellery and gifts, where the inspiration comes from the surrounding countryside and world around her.
The post How to Make a Hand Stamped Ring by Little Black Cat appeared first on The Bench.
source https://www.cooksongold.com/blog/jewellery-making-projects/hand-stamped-ring-project-little-black-cat


Comments
Post a Comment