How To Use Silver Clay
Wondering how to use silver clay? Whether it’s for a personal project or you’re looking to use it in the workshop, find out everything you need to know in our blog. Making jewellery with silver clay is pretty straightforward, you’ll just need to make sure you have the right tools and equipment to get started! Discover all the tools and equipment we’d recommend below.
Silver Clay Jewellery Kit

Before you learn how to use silver clay at home, it’s important that you have all the correct tools and equipment. So to the make the job a bit easier, we’ve put together a silver clay jewellery kit list. Here’s what you’ll need:
- Art clay silver
- A silver clay kiln or hand torch
- Sanding pads
- Badger balm
- Metal clay workmat
- Needle tool
- Metal clay roller
- Soldering block
- Brass brush
How To Make Silver Clay Jewellery

To get you started, we’ll walk you through the basics of making jewellery with silver clay:
- Flattening. Take a ball of silver clay and place it on the workmat. Using your metal clay roller, roll the clay until you’re happy with the level of thickness. Make sure you stack an equal amount of playing cards either side of your clay so that you have an even thickness all the way across.
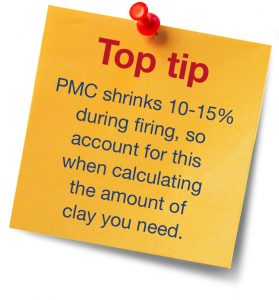
Top tip: use badger balm on the workmat and the roller to avoid the clay from sticking.
- Texturing. If you’re looking to add some texture to your design, place the textured sheet or object you’re using underneath the clay and gently roll over in one direction to keep the impression clear.
- Cutting. Using a needle tool or a clay cutter, cut out your clay to the desired shape.
- Drying. Allow the clay to dry out for 10-20 minutes before refining and firing.
- Sanding. With your sanding pads, sand down the edges of the clay until you’re happy with the result.
- Firing with a torch. Ensuring the piece is fully dry, put your design on the soldering block and make sure the torch isn’t empty. Dim the lights in the room so you can see the glow of the torch and direct at a 45° angle, approximately 5cm away. In order to heat the clay evenly, move the flame around the piece until you see smoke and a flame as the binder burns away. After the clay glows a cherry red colour, set a timer for the recommended time on the packet and then leave to cool.
- Firing with a kiln. Place your design on a mesh support or kiln shelf and then set the appropriate temperature for the type of silver clay and the size of your piece. Once done, leave to cool down.
- After making sure your design is completely cool, remove any scaling with a brash brush until shiny – and then you’re done!
Silver Clay Jewellery Ideas
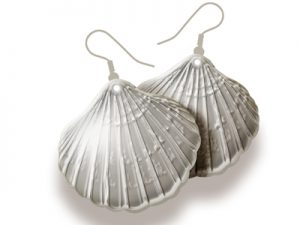
Looking for some inspiration? See which silver clay jewellery ideas you like the sound of below.
Ready to get started? Now you know how to use silver clay for making unique jewellery pieces, we hope you’re excited to give it a go yourself. Collect all the supplies and jewellery making tools you need online. For more information, head to our silver clay section on our blog for everything you need to know about making jewellery with silver clay.
The post How To Use Silver Clay appeared first on The Bench.
source https://www.cooksongold.com/blog/silver-clay/how-to-use-silver-clay

Comments
Post a Comment