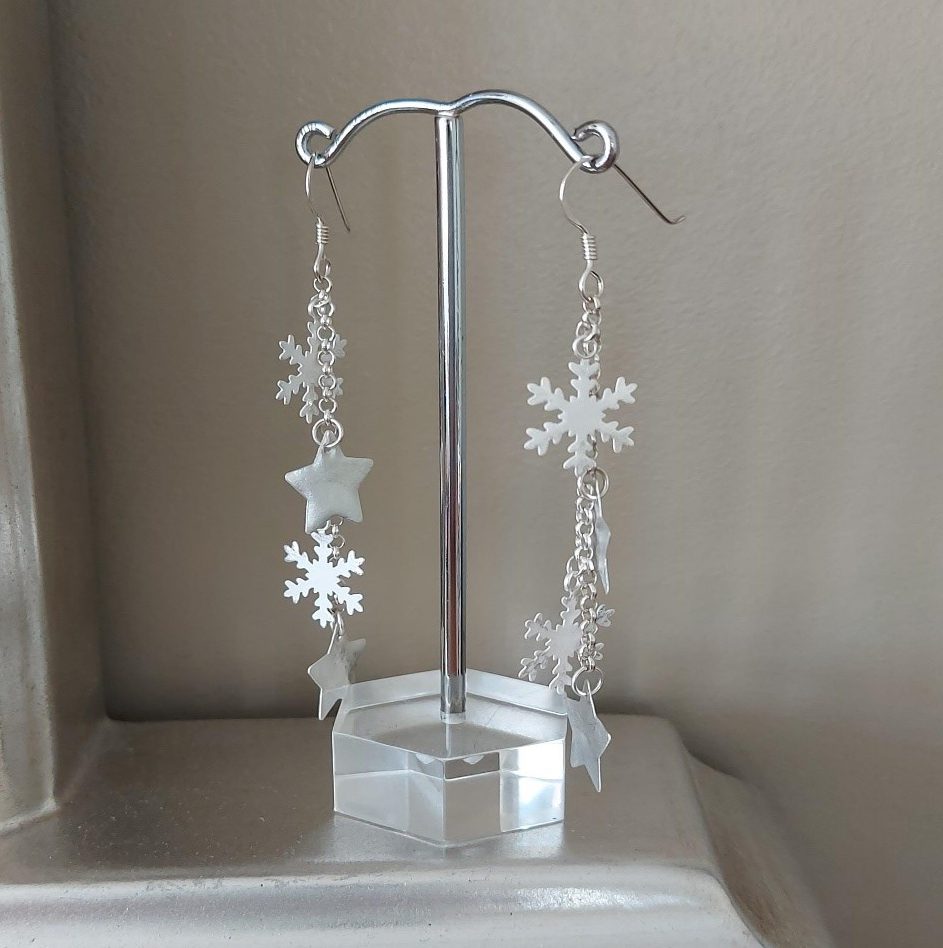
How to create Snowflake Earrings
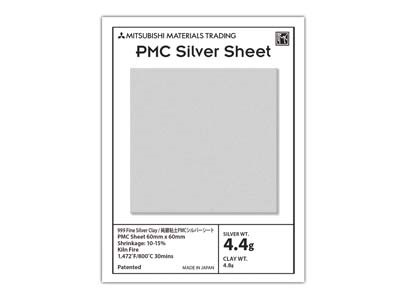
With Christmas fast approaching, now’s the time to immerse yourself in stars, snowflakes and all things festive, so here are my whimsical drop earrings to get the ball rolling. For this Snowflake Project, I used PMC sheet or paper, as it is otherwise known, and a couple of shaped punches usually used for paper or card. These are widely available in a massive range of shapes, so this is an extremely versatile design which can be easily adapted.
Tools and Materials
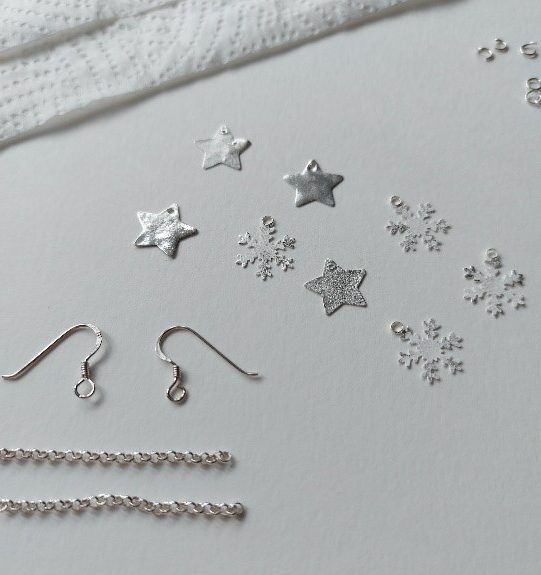
You will need:
Shaped paper punches (I used a star and a snowflake)
Approx. 8cm of mini belcher chain
2 x hook wire earring fittings

Step 1
Remove the PMC sheet from the pack and place onto your working surface, which should be covered with greaseproof paper or even a piece of normal paper to prevent contamination. (It’s worth noting that unlike other PMC, this type is completely dry and feels like paper or leather to touch).
Step 2
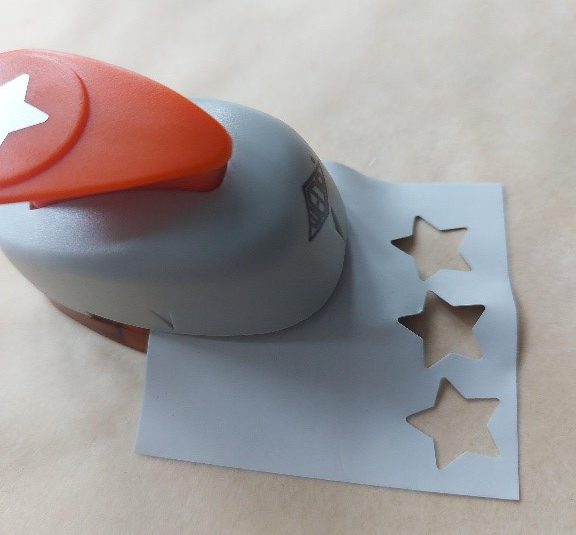
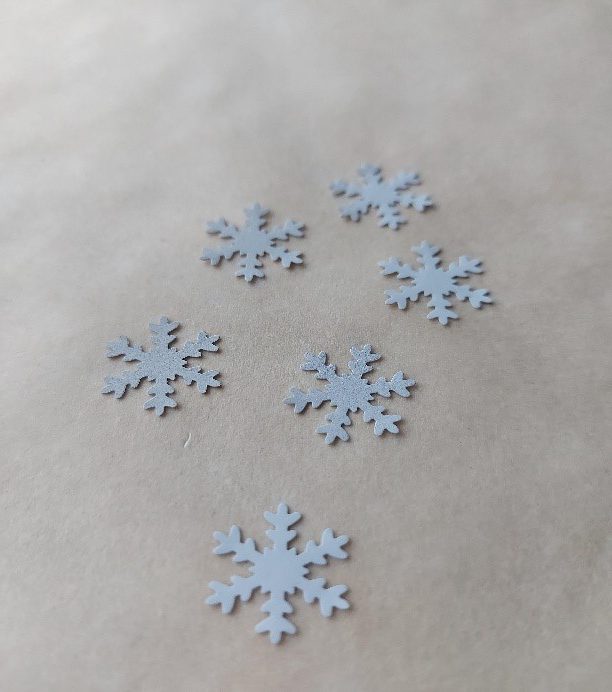
Carefully slide the PMC into the paper punch making sure of your positioning and firmly push the lever to cut out your shape. Remove each shape as soon as you have cut it and put to one side. Repeat this process until you have cut out enough shapes. (I used 4 stars and 4 snowflakes but stamped extra to allow for any mishaps).
Step 3
Sheet PMC doesn’t need to be dried so can be fired straight away. It can be torch or kiln fired.
N.B. It needs to be noted at this stage that as supplied, PMC sheet is only the thickness of a playing card. If it were to be kiln fired with no backing or additional supporting PMC, it would melt. It is possible to torch fire it as is, but the resulting pieces have no strength and are only suitable for suspending as I have done or other applications where absolutely no pressure is exerted onto them. To create a stronger product, simply bond two or three layers together using clean water and placing some pressure on top until bonded. Leave to dry before firing.
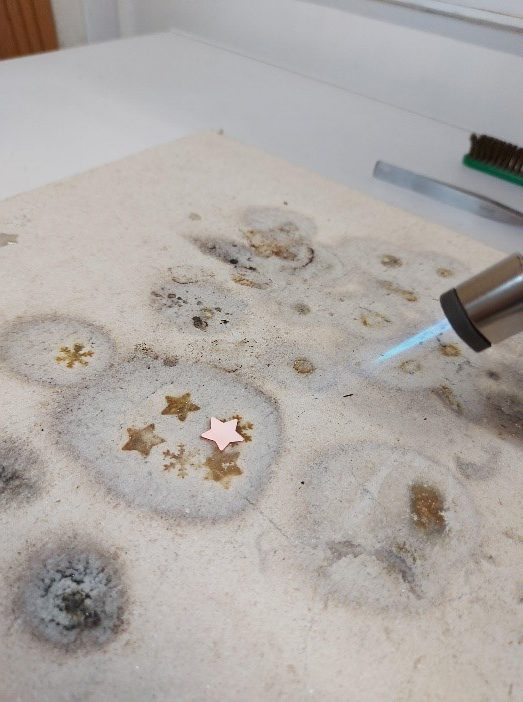
Step 4
Using a hand torch, fire each piece carefully. (Keep the flame moving and start your timer once the piece glows red). I fired the stars for 2 mins and the snowflakes for 3 mins.
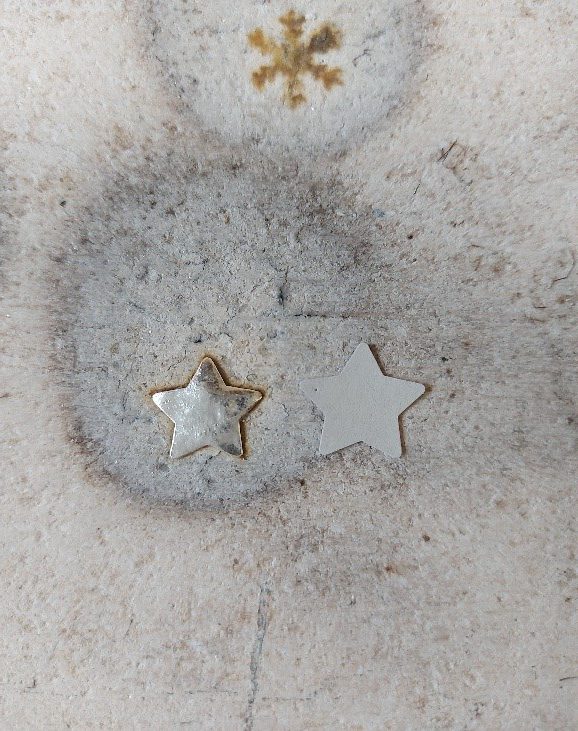
Step 5
The firing brought some interesting and unexpected results which I used to my advantage given the theme of the project. Once sintered the snowflakes were pure white in colour which looked lovely, so I decided to use that finish in the final design. The stars heated up extremely quickly and within 30 seconds the surface started to melt. Rather than stop, I kept going for the required time and the end result was a reticulated surface which again was rather attractive and therefore made it to the finished design.
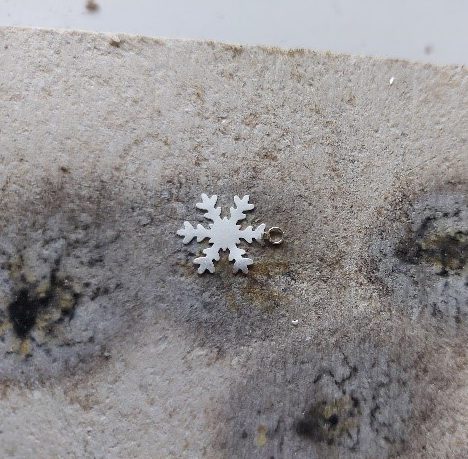
Step 6
Solder on a 2.5mm jump ring to the top of each snowflake. It helps to file a flat edge or snip off the top of one of the central spikes to provide a bigger surface to join to the ring.
Step 7
Pickle until white.
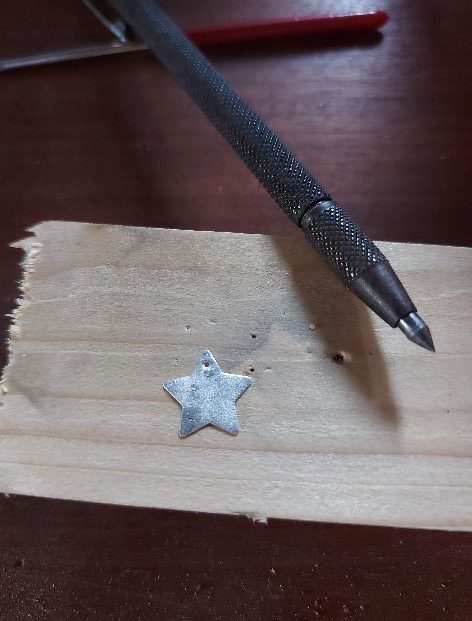
Step 8
Gently mark a hole on the tip of your stars and gently push through with a centre punch. Do it slowly to prevent splitting and only use a hammer if you have added extra supporting layers to your PMC. Tidy up with a needle file if necessary.
Step 9
Once the snowflakes are clean, rinse and dry. Then gently use a burnisher on some of the edges and tips just to highlight the design, leaving the majority white.
Step 10
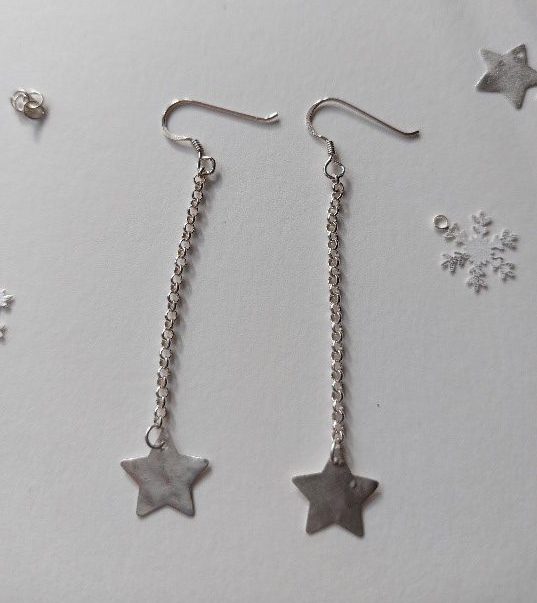
Cut the chain into two, 4cm lengths and add an ear wire to one end.
Step 11
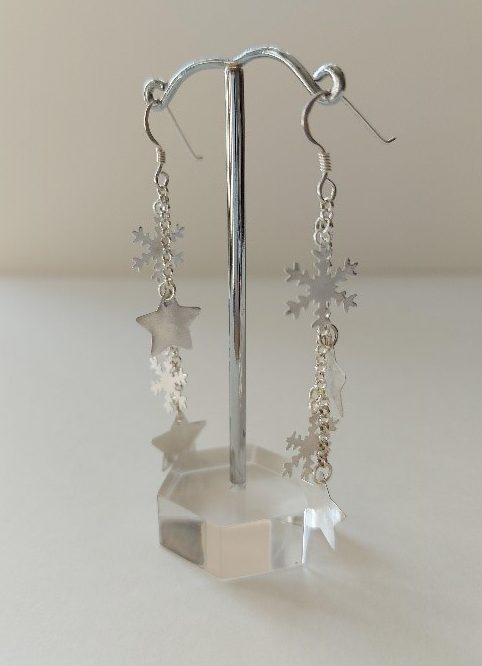
Using the 3mm jump rings, add the finished stars and snowflakes spacing them evenly along the length.
The resulting snowflake earrings are super light weight and pretty thanks to the mix of finishes and textures which make them just a little bit different. Why not give them a go this festive season!
Written by Joanna Varney
Joanna has worked in and around the jewellery industry for well over 20 years. She has designed and created her own pieces as a designer maker, as well as working in jewellery retail on a much larger scale, producing designs and NPD for some of the UK’s largest high street retailers
The post How to create Snowflake Earrings appeared first on The Bench.
source https://www.cooksongold.com/blog/jewellery-making-projects/snowflake-earrings


Comments
Post a Comment