Easter Project Using Air Drying Clay
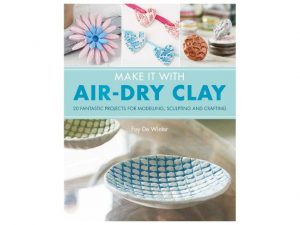
This is a project perfect for Easter, featured in ‘Make it with Air Dry Clay’ by Fay De Winter
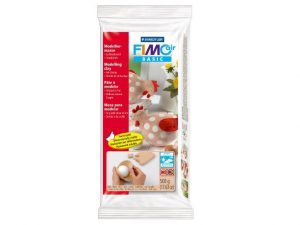
Make It with Air-dry Clay by Fay De Winter – 999 A185 and Fimo Air Basic White 500g – 867 271
You will need:
Fimo Air Basic White 500g
Selection of small bowls
Aluminium foil
Rolling pin
A textured surface e.g. hessian or plastic mesh
Knife
Watercolour paints
Sponge
Fimo Gloss Varnish (867 217)
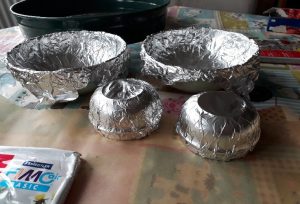
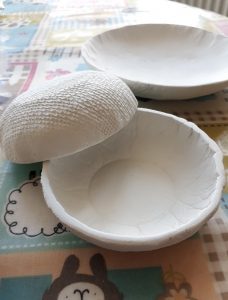
- Prepare your chosen bowl by covering it in a layer of aluminium foil. Ensure it is wrapped firmly over the rim to keep it in place.
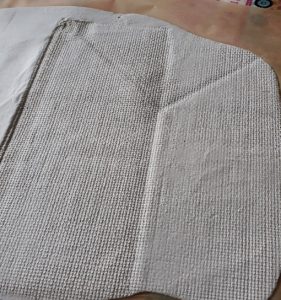
- Roll out the clay onto an easy clean surface (vinyl tablecloth, plastic sheet etc.) to approx. 5mm thickness for a small bowl and up to 10mm for a larger bowl.
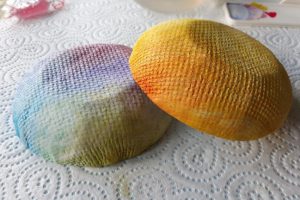
- Lay the textured fabric over the top of the clay sheet and roll over it evenly and firmly with a rolling pin (I used a hessian shopping bag).
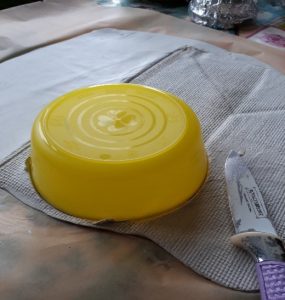
- Place a bowl upside down onto the clay sheet and cut round it with a knife.
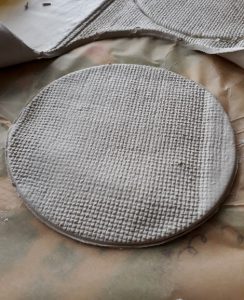
- Clean up the edge of the circle with a knife and a damp sponge.
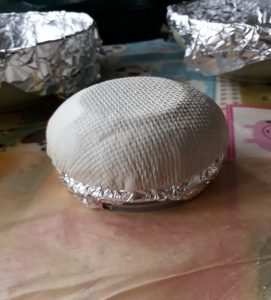
- Carefully place the circle onto or into your chosen bowl mould and gently push into shape.
- Trim edges with a knife to neaten if necessary.
- Allow to dry for 24 hours.
- Once dry, carefully remove the bowl from the mould.
- File edges if required using an emery board or dedicated buff stick used only for clay.
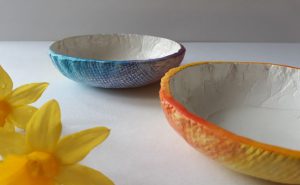
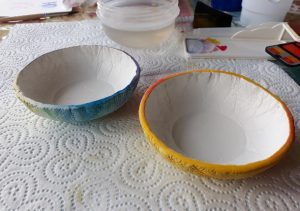
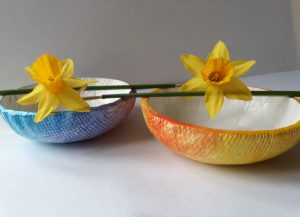
- Decorate using a paint technique of your choice. I used watercolours which I blended and then sponged over, to highlight the texture on the exterior of the bowls. The insides were left plain to contrast with the coloured rim.
- Once complete, seal with Fimo Gloss or a clear gloss spray.
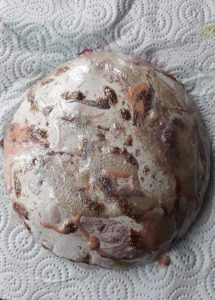
I also did some experiments (as promised in my ‘Make it With Air Dry Clay’ – by Fay De Winter book review) with marbling, using nail polish which proved to be quite a tricky technique to master.
- Seal your clay bowl before applying any colour, using clear nail polish and allow to dry.
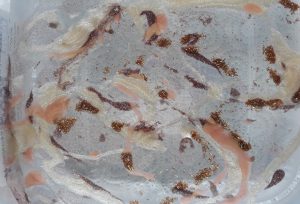
- Fill a large bowl with lukewarm water and gently pour your chosen nail polish colours onto the surface.
- Carefully dip the bowl into the water which will deposit the nail polish directly onto the prepared surface.
- Remove and allow to dry fully.
- Seal again using clear nail polish.
Marbling Tips
- Try to use thin nail polish which should run freely rather than form into clumps, as this will result in a lumpy finish as you can see in my example!
- Avoid nail polish with large pieces of glitter, as again this will result in a lumpy finish.
- Be warned – as soon as the clay surface hits the water, the nail polish grabs on immediately, so you have one chance. You can however add more nail polish and re-dip if required.
- If you are unhappy with your results simply wipe clean using nail polish remover and try again.
- You must seal your item both before and after you apply the nail polish.
Air drying clay is a great medium to work with as it requires no specialist equipment. It is inexpensive and versatile making it suitable for all ages and levels of expertise. If, like many of us, you have extra time on your hands at the moment, this is an ideal project to try. It uses items you are likely to have around the house and will provide a wonderful bit of escapism 
Written by Joanna Varney
Joanna has worked in and around the jewellery industry for well over 20 years. She has designed and created her own pieces as a designer maker, as well as working in jewellery retail on a much larger scale, producing designs and NPD for some of the UK’s largest high street retailers
The post Easter Project Using Air Drying Clay appeared first on The Bench.
source https://www.cooksongold.com/blog/how-to-guides/easter-project-using-air-drying-clay
Comments
Post a Comment